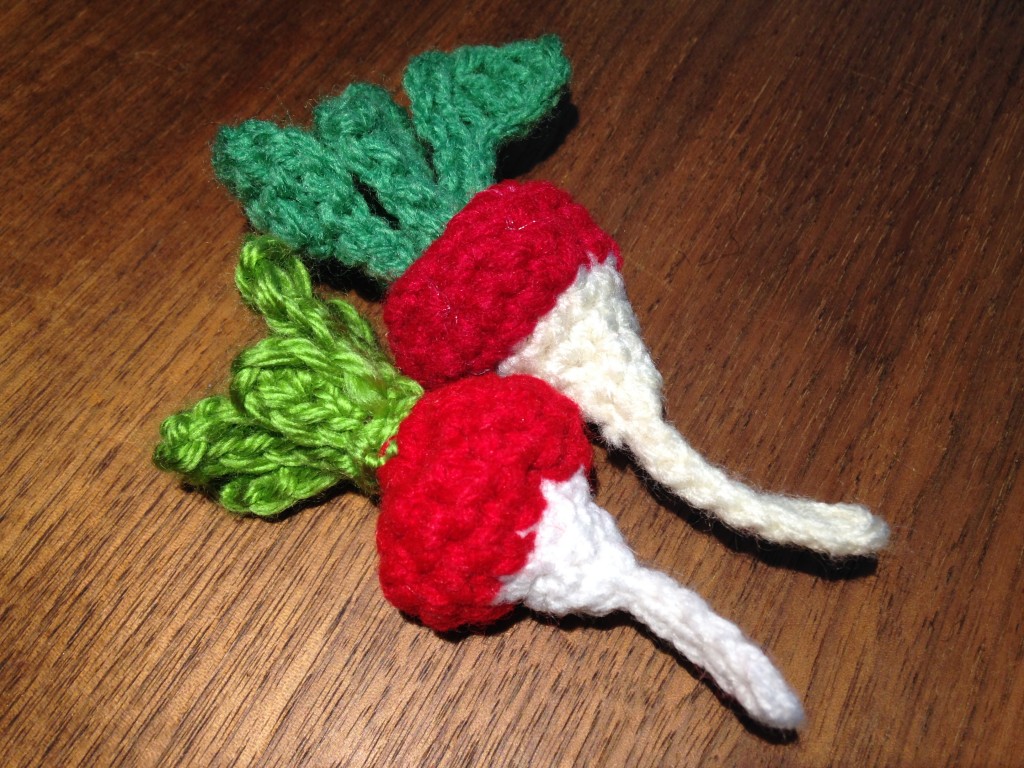
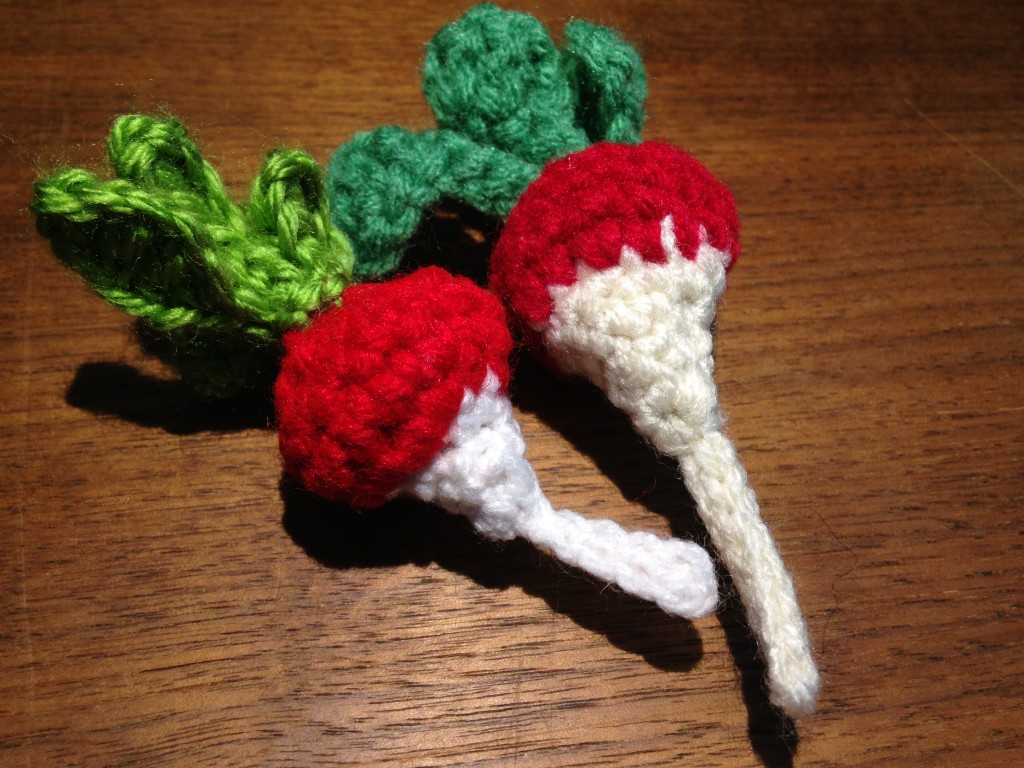
R.O.U.A.s – Radishes Of Unusual Adorableness. Oh my stars! such little cuties.
Mild Spring weather seems to come late to this part of the country and March’s “all lion – all the time” weather philosophy is particularly difficult to accept when the gardeners with the “all lamb weather” are trotting out photos of fluffy pink cherry blossoms and blowsy Spring bulb displays and discussing the garden work that they are outside performing in the t-shirts and the shorts.
All of that precocious flowery-goodness is apparently due to the “unusually early spring” in the south. (Thanks a lot, early Canadian ancestors, for the whole: “We’ll take the frozen part!” thing.)
So here is a way to make yourself a little piece of Spring! All it takes is a few small hanks of yarn, a crochet hook, and a darning needle to easily crochet your own cuddly little radish.
This is more of a recipe than a stitch for stitch pattern and it presumes that you know how to do simple crochet stitches such as single crochet, double crochet and how to slip stitch. If you are brand new to crochet but would like to try this pattern I suggest looking at this site first – Moogly (it features lots of good beginners videos and tutorials).
Use a large hook and chunky yarn and you will produce a big radish or you can crochet with a tiny hook and some embroidery floss to get a teensy-tiny radish (and to get some pretty good finger cramps too). For a chubbier radish make additional increases or you could add some extra rows of red to create a longer tapered “French Breakfast” style of radish. You could even use all white yarn and add lots of rows to make a large spicy Daikon radish!
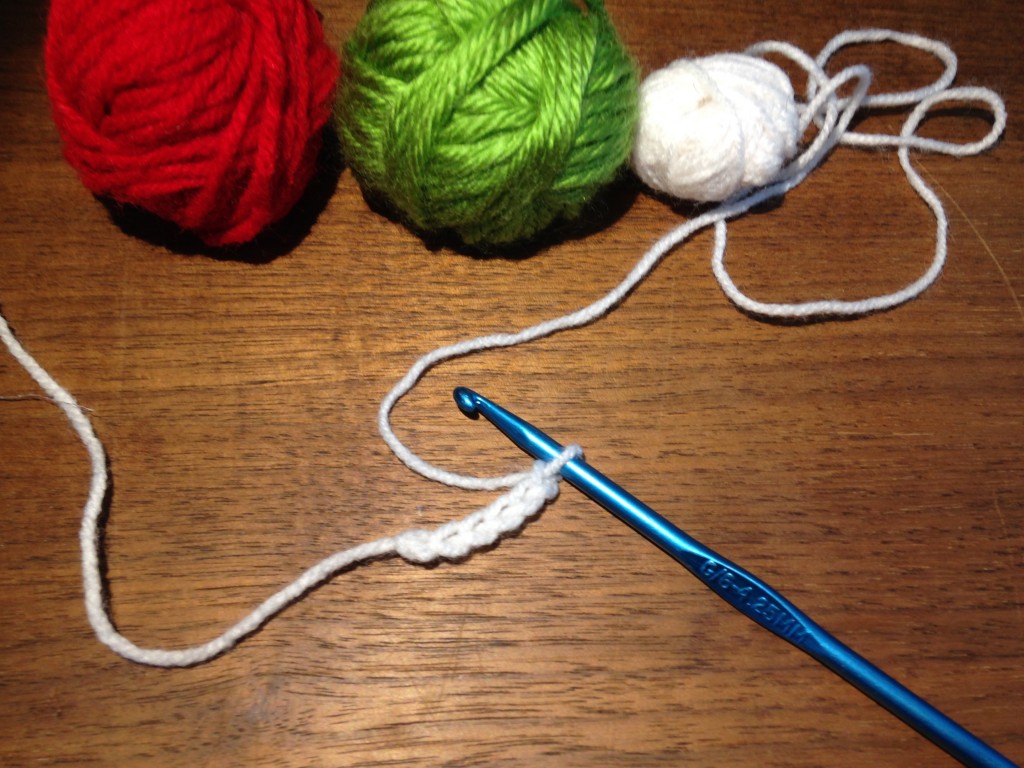
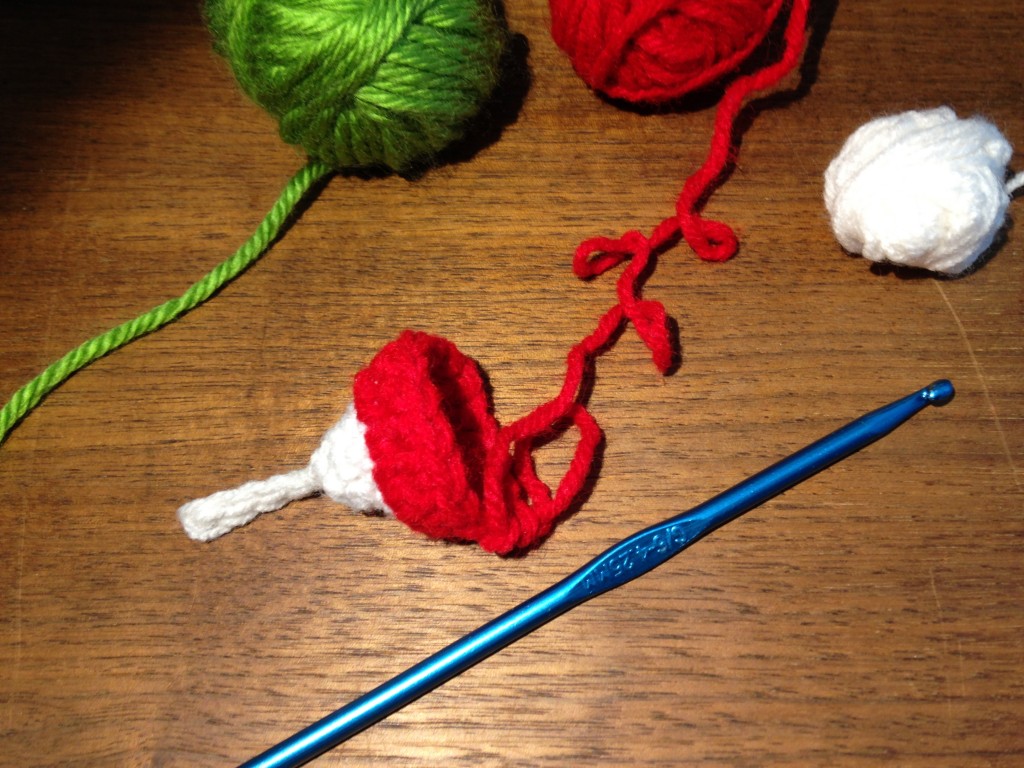
- With white – Chain six and turn
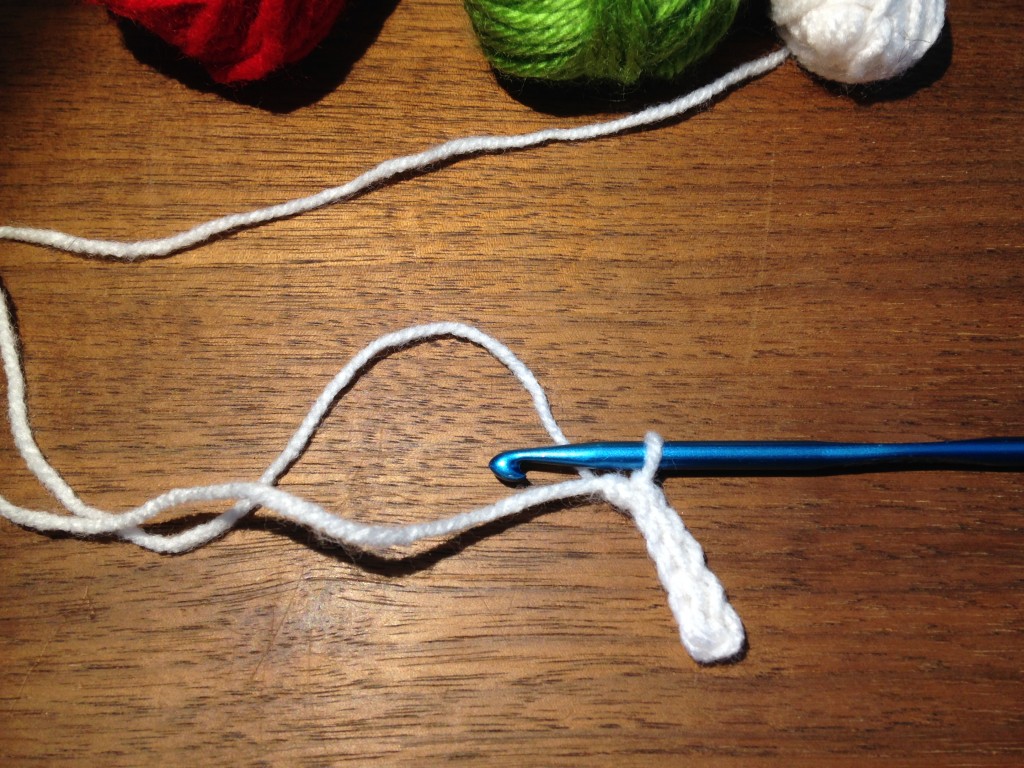
- Slip stitch in each chain stitch. – in the last chain stitch – 10 sc and join to make a circle
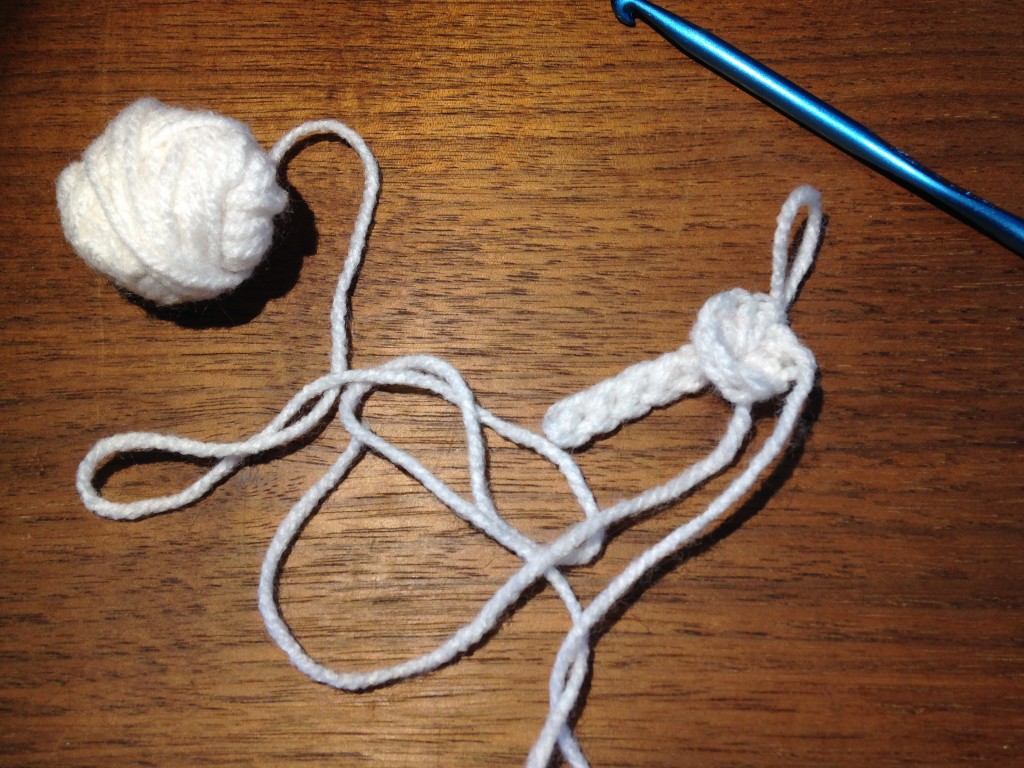
- Round 1 – 3: sc in each stitch slip st at end of round 3 sl st to join and cut the yarn leaving a long tail
- Change to red – Round 4: sc in each stitch
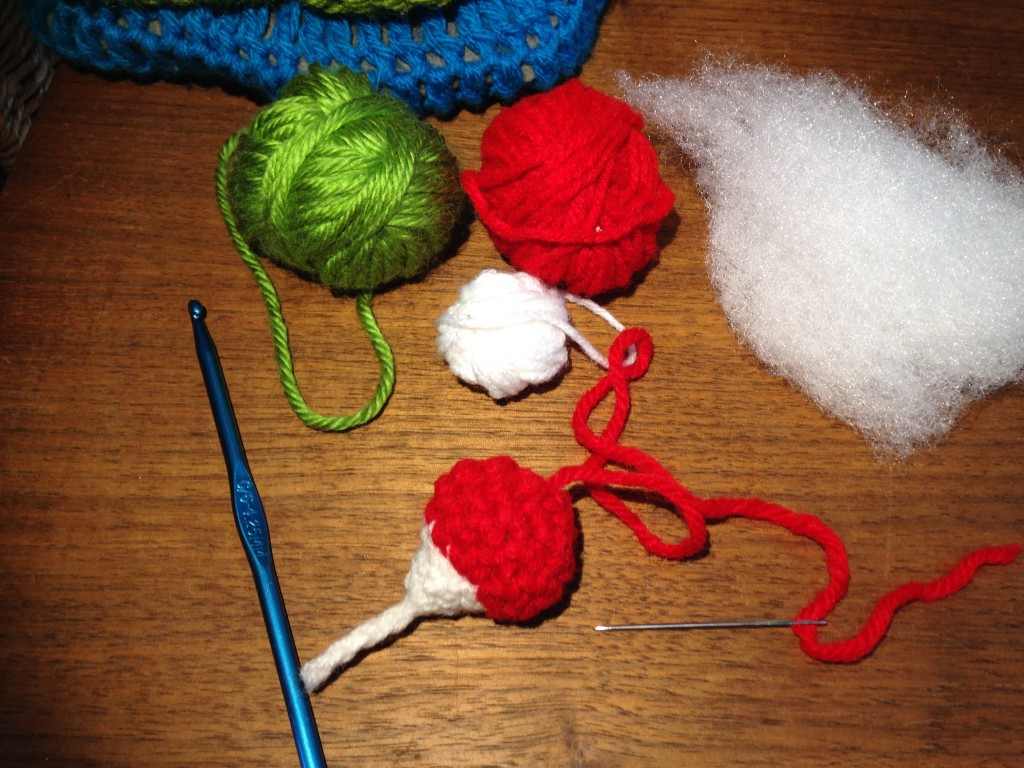
- Round 4: increase in each stitch
- Round 5: sc in each stitch
- Round 6 – 7: sc in the first stitch, decrease in the next stitch repeat to end
- Slip stich and cut red with a long tail, stuff radish and sew circle closed.
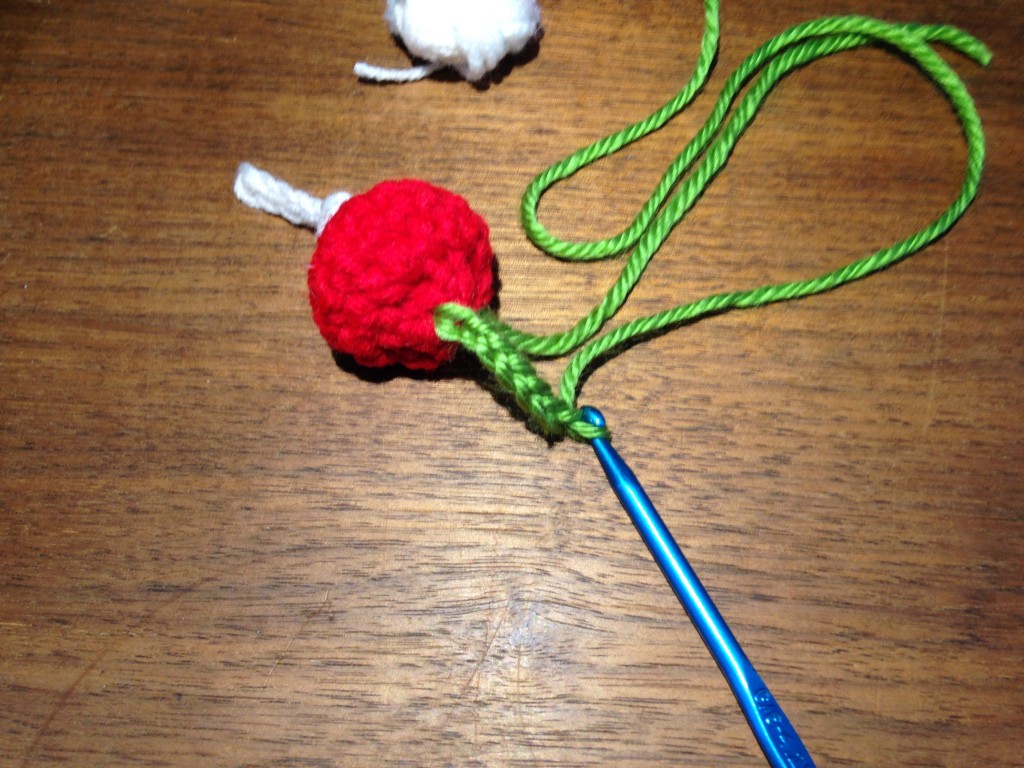
- Leaves (make three or five, as you like) – With green, slip stitch yarn to the top of the radish
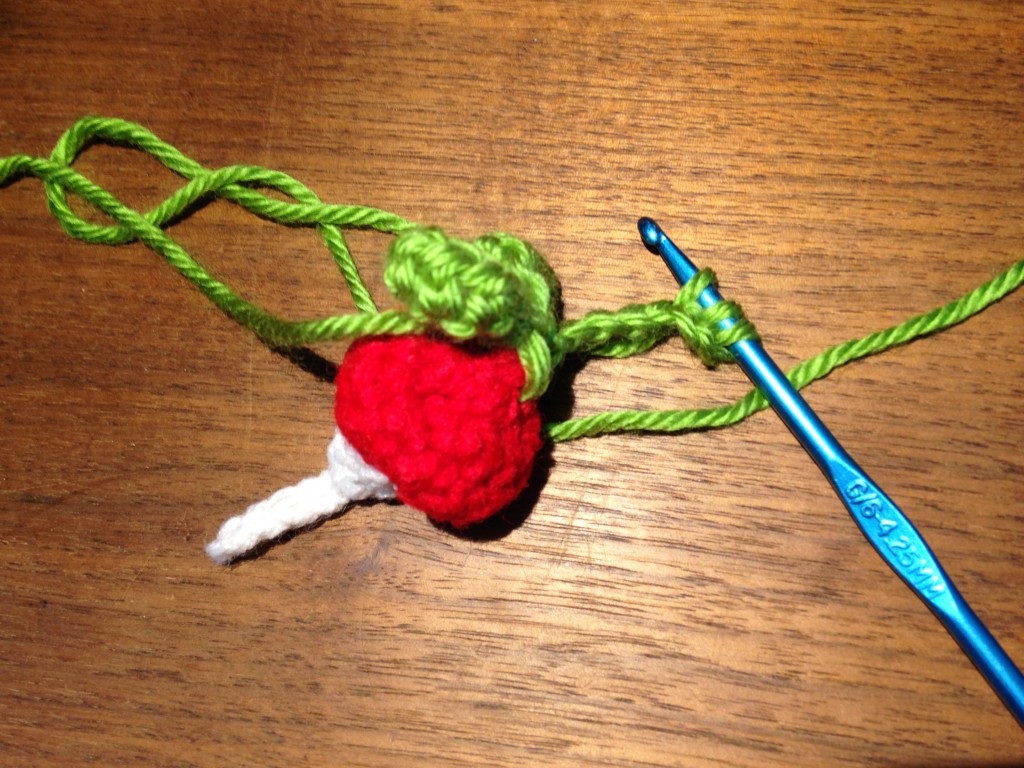
- Chain 7, turn, dc 3 along the chain then slip stitch to end (repeat for as many leaves as you want)
- Fasten off, use the long tail on your white end to sew through your radish tail and pull it into the centre of the white circle.
- Weave in ends (this is where long tails are really nice on amigurumi, it allows you to sew through your radish to tighten it up and to define the shape that you would like) .
There you go a nifty little radish. Next time maybe a pretty red beet? Or a white and purple turnip?
Love the lovely little radishes… Nom! Nom! Nom!
8
