
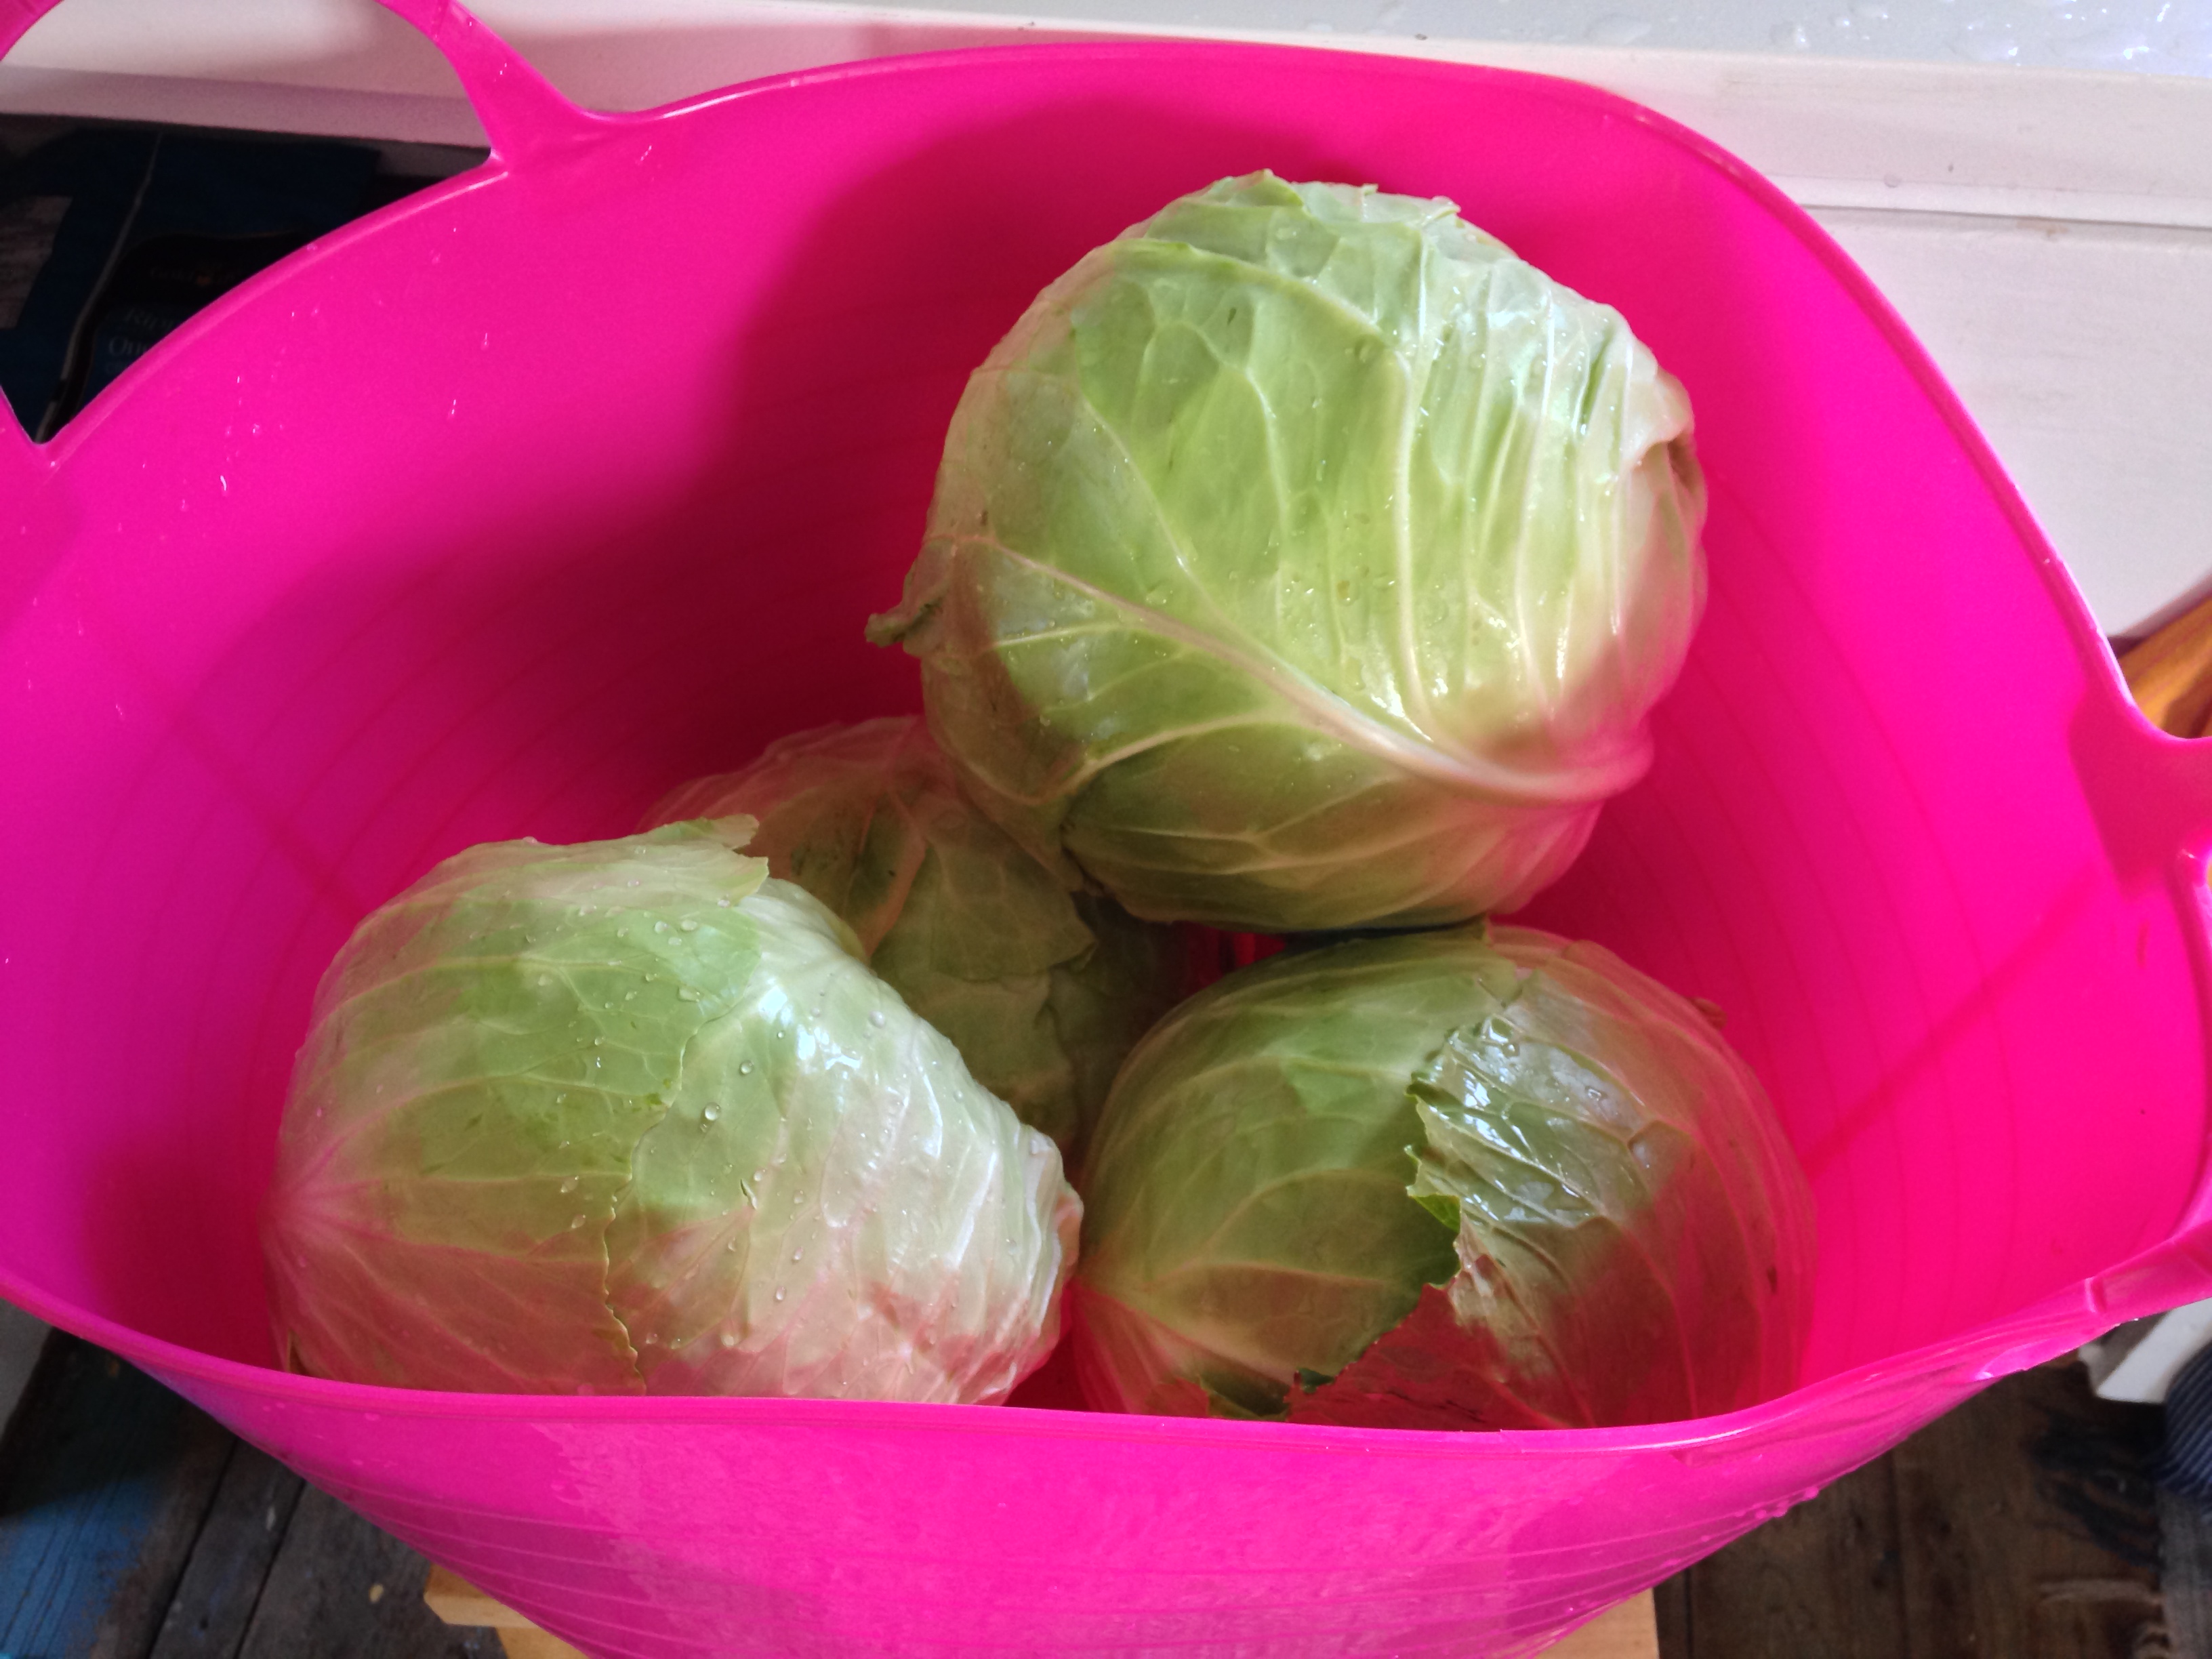
This past season we grew a crop of quite lovely summer cabbages. A fairly large crop of quite lovely summer cabbages, actually.
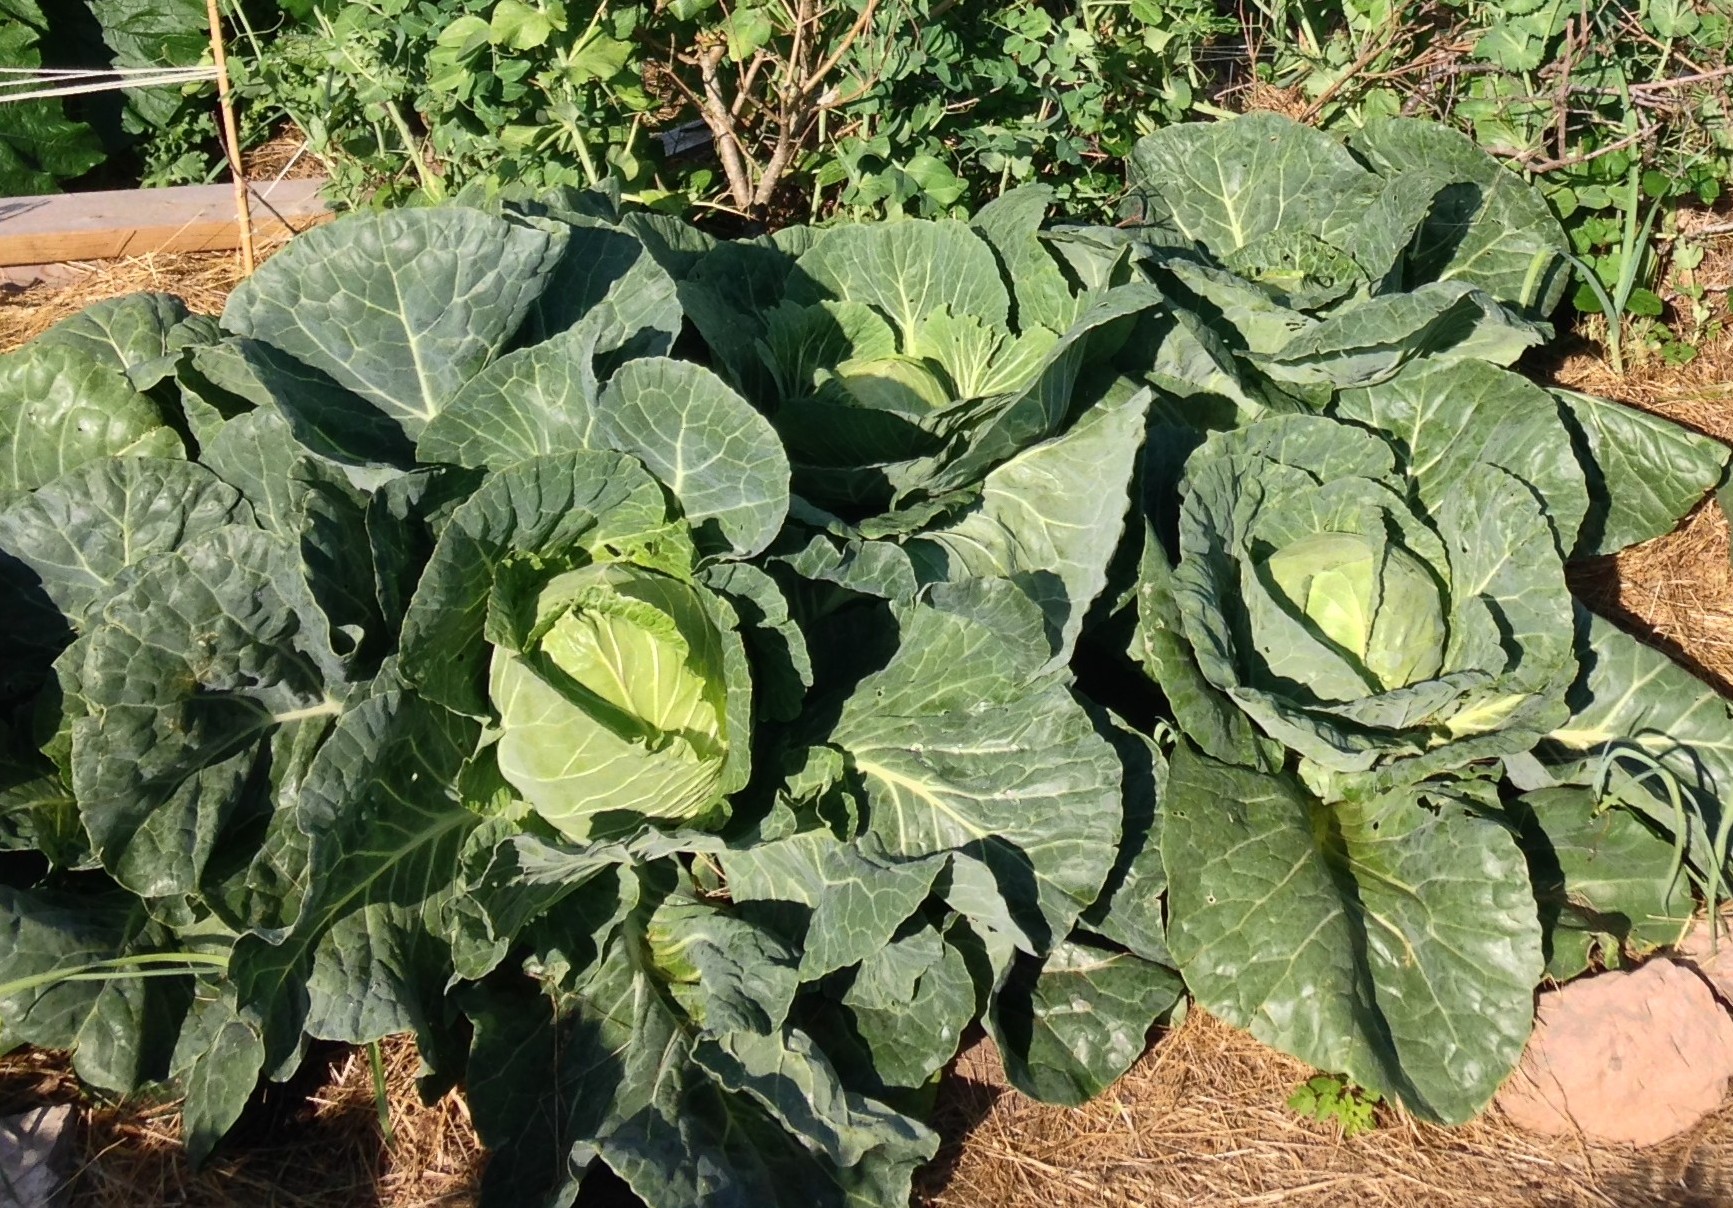
Many, many more cabbages than we could use fresh. So it seemed like a good time to make some pickled cabbage.
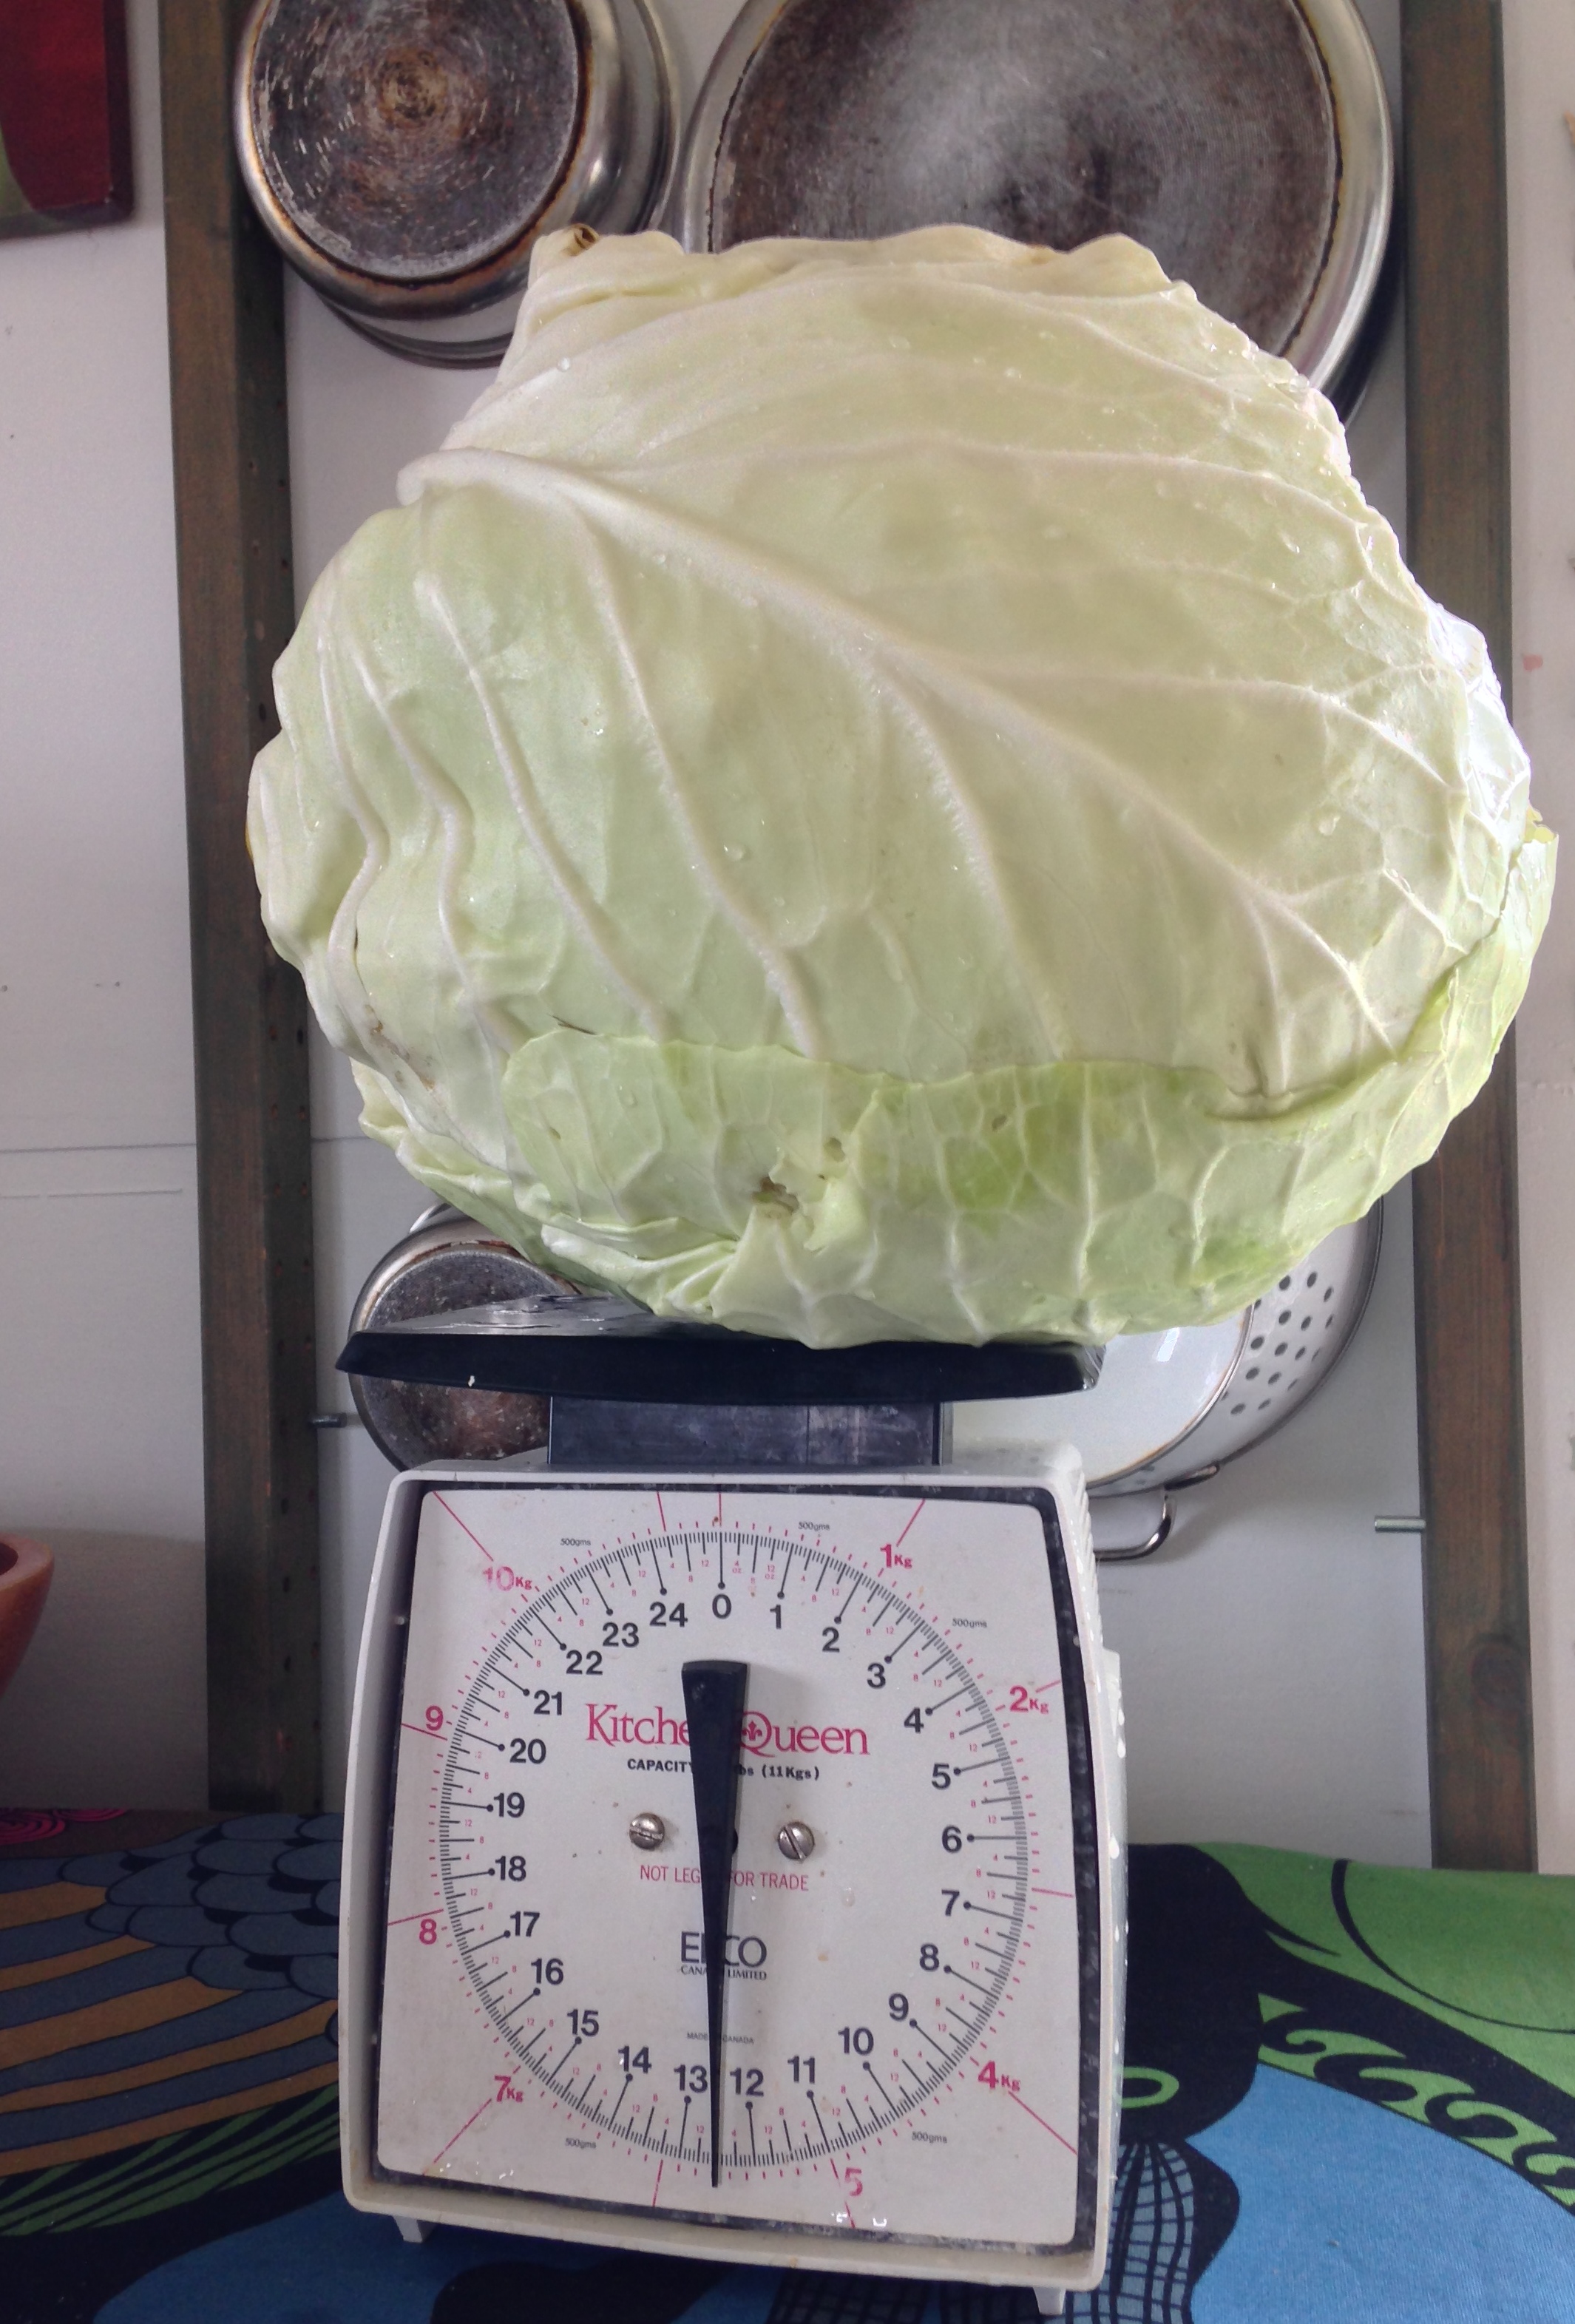
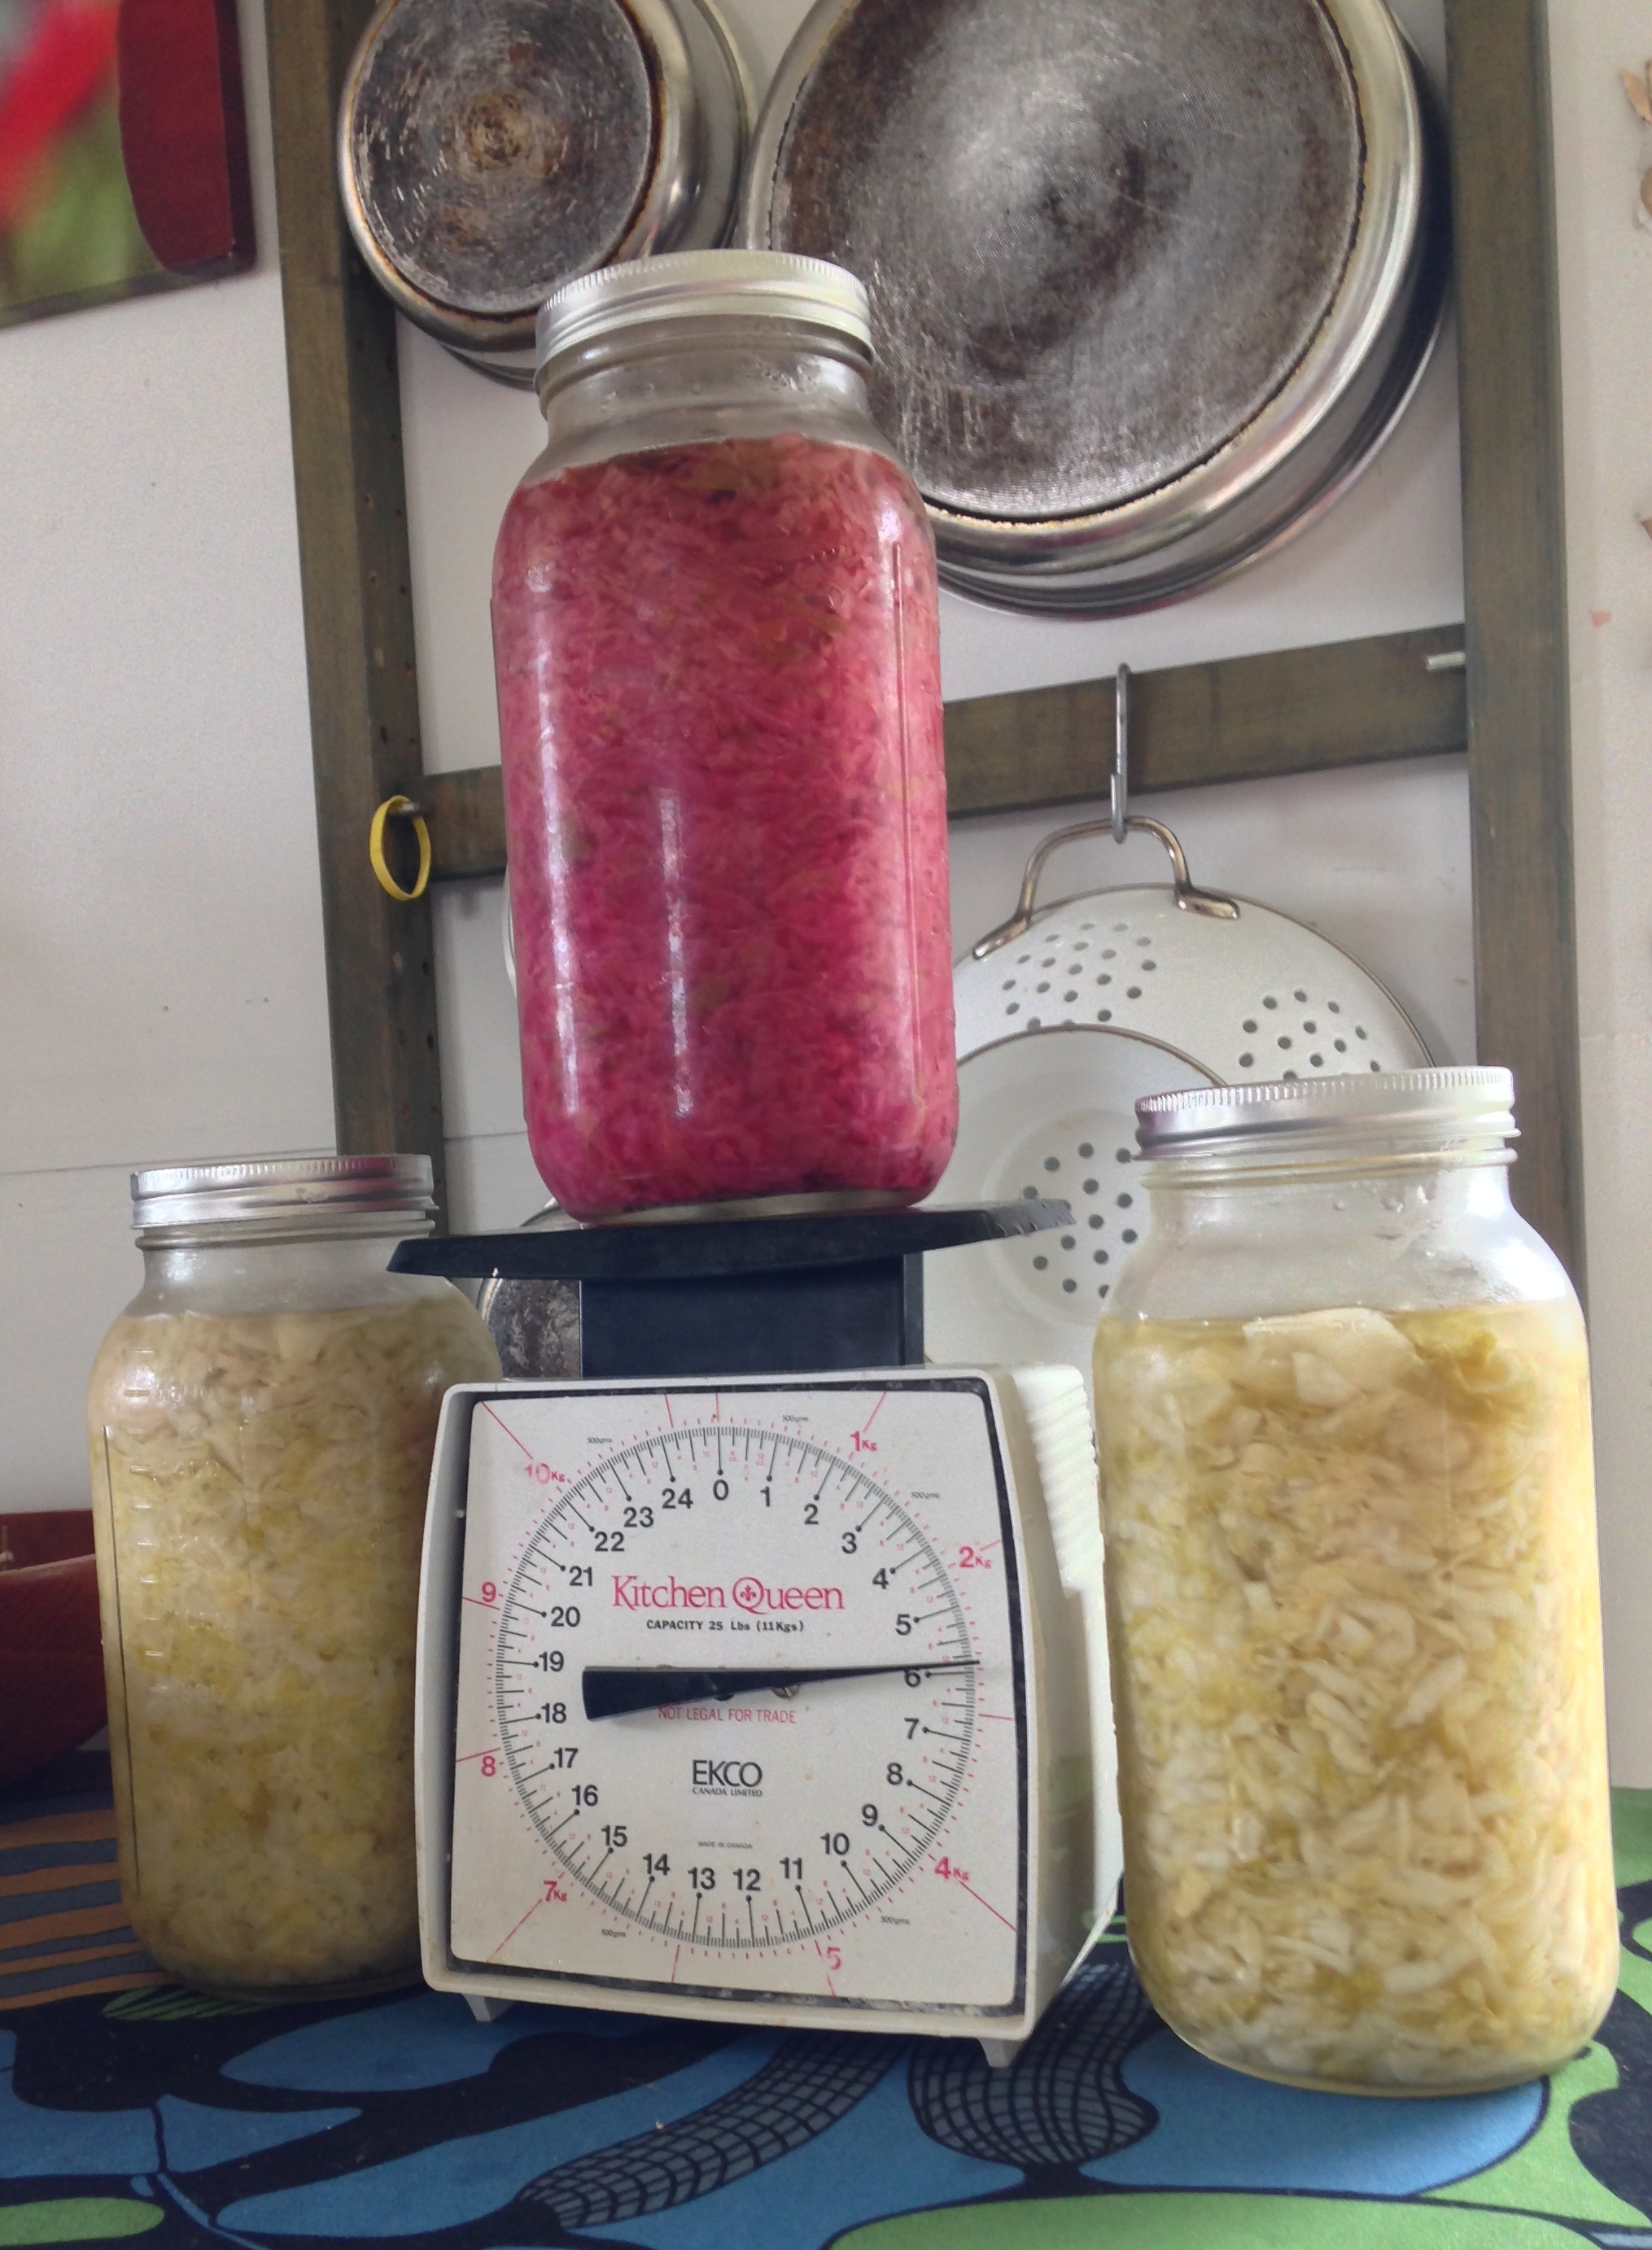
(I think that twelve pounds is a pretty big for a single cabbage. The heaviest one that we have grown yet anyway.)
Lacto-fermented vegetables are full of extremely healthful probiotics. Homemade fermented pickles are a super easy way to include them in your food… as good for your digestion as live-cultured yogurt.
Perhaps, Pickled Cabbage needs a nice, new name. “Sauerkraut” seems to rarely meet with a good reaction (more often it gets the fingers in ears and the running away with the screaming). I really do think that this is unfair and I surely hope that we can help redeem this simple and really wonderful preservation technique.
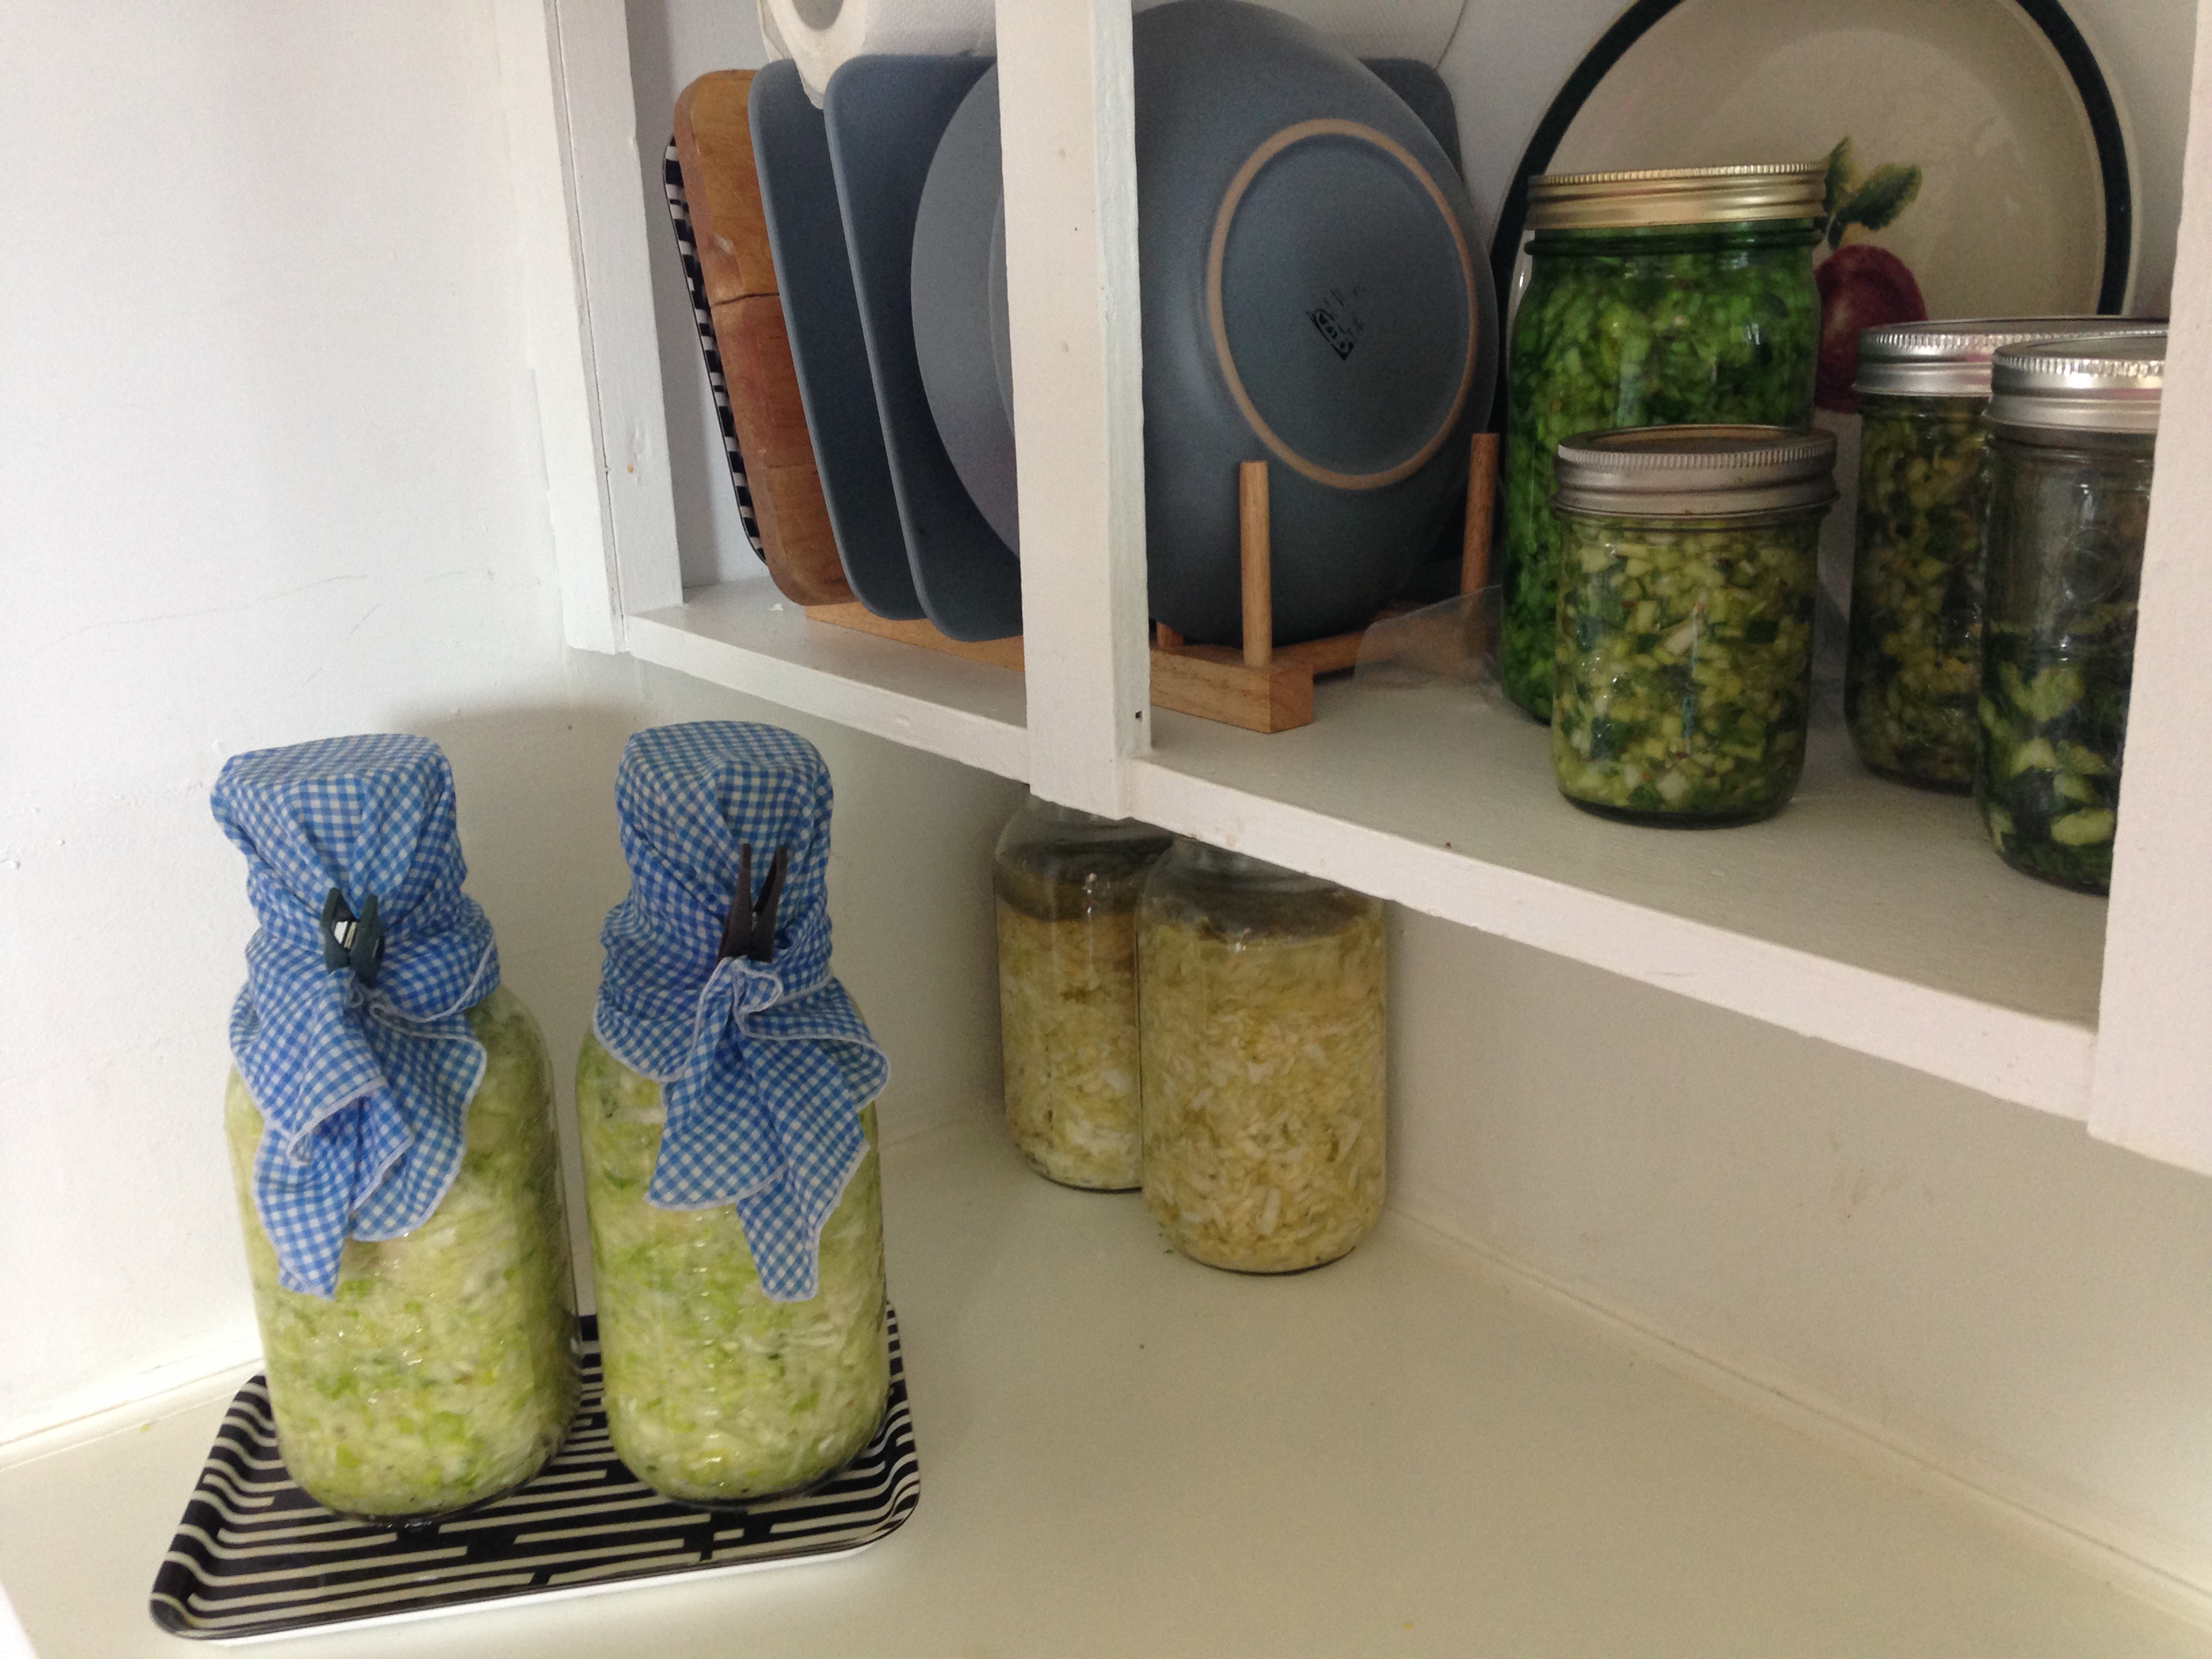
Any vegetables can be preserved as fermented pickles and to make a small batch you only need a handful of simple things – Shredded fresh vegetables, course salt and a wide mouth mason jar (along with a smaller jelly glass or a clean stone for a weight). Sprinkle coarse salt on your shredded vegetables at the ratio of about two tablespoons salt to five pounds of shredded vegetables. Massage the salt into the cabbage (or just let the salted Cabbage rest for a few hours). This will release the liquid and form the brine that will support your salt-loving lacto-fermenting bacterial culture.
A few days fermenting on the countertop and the pickles are ready to be capped and placed in the refrigerator (a cool basement or root cellar would also work). We put up many two litre jars of cabbage and lots of nifty smaller jars of an onion and cucumber relish along with some old-fashioned “fizzy” dill pickles.
Next year I want to try making some spicy Kimchee with our cabbages and the super-hot Thai and Habernero Chilies. Fun!
How to make some very nice “Mason Jar” Pickled Cabbage…
You will need:
- Fresh red or green cabbage (three to five pounds)
- Course salt
- A wide mouth mason jar and a jelly jar (or a clean stone)
– Clean and sanitize your wide mouth mason jar (and the jelly jar or stone)
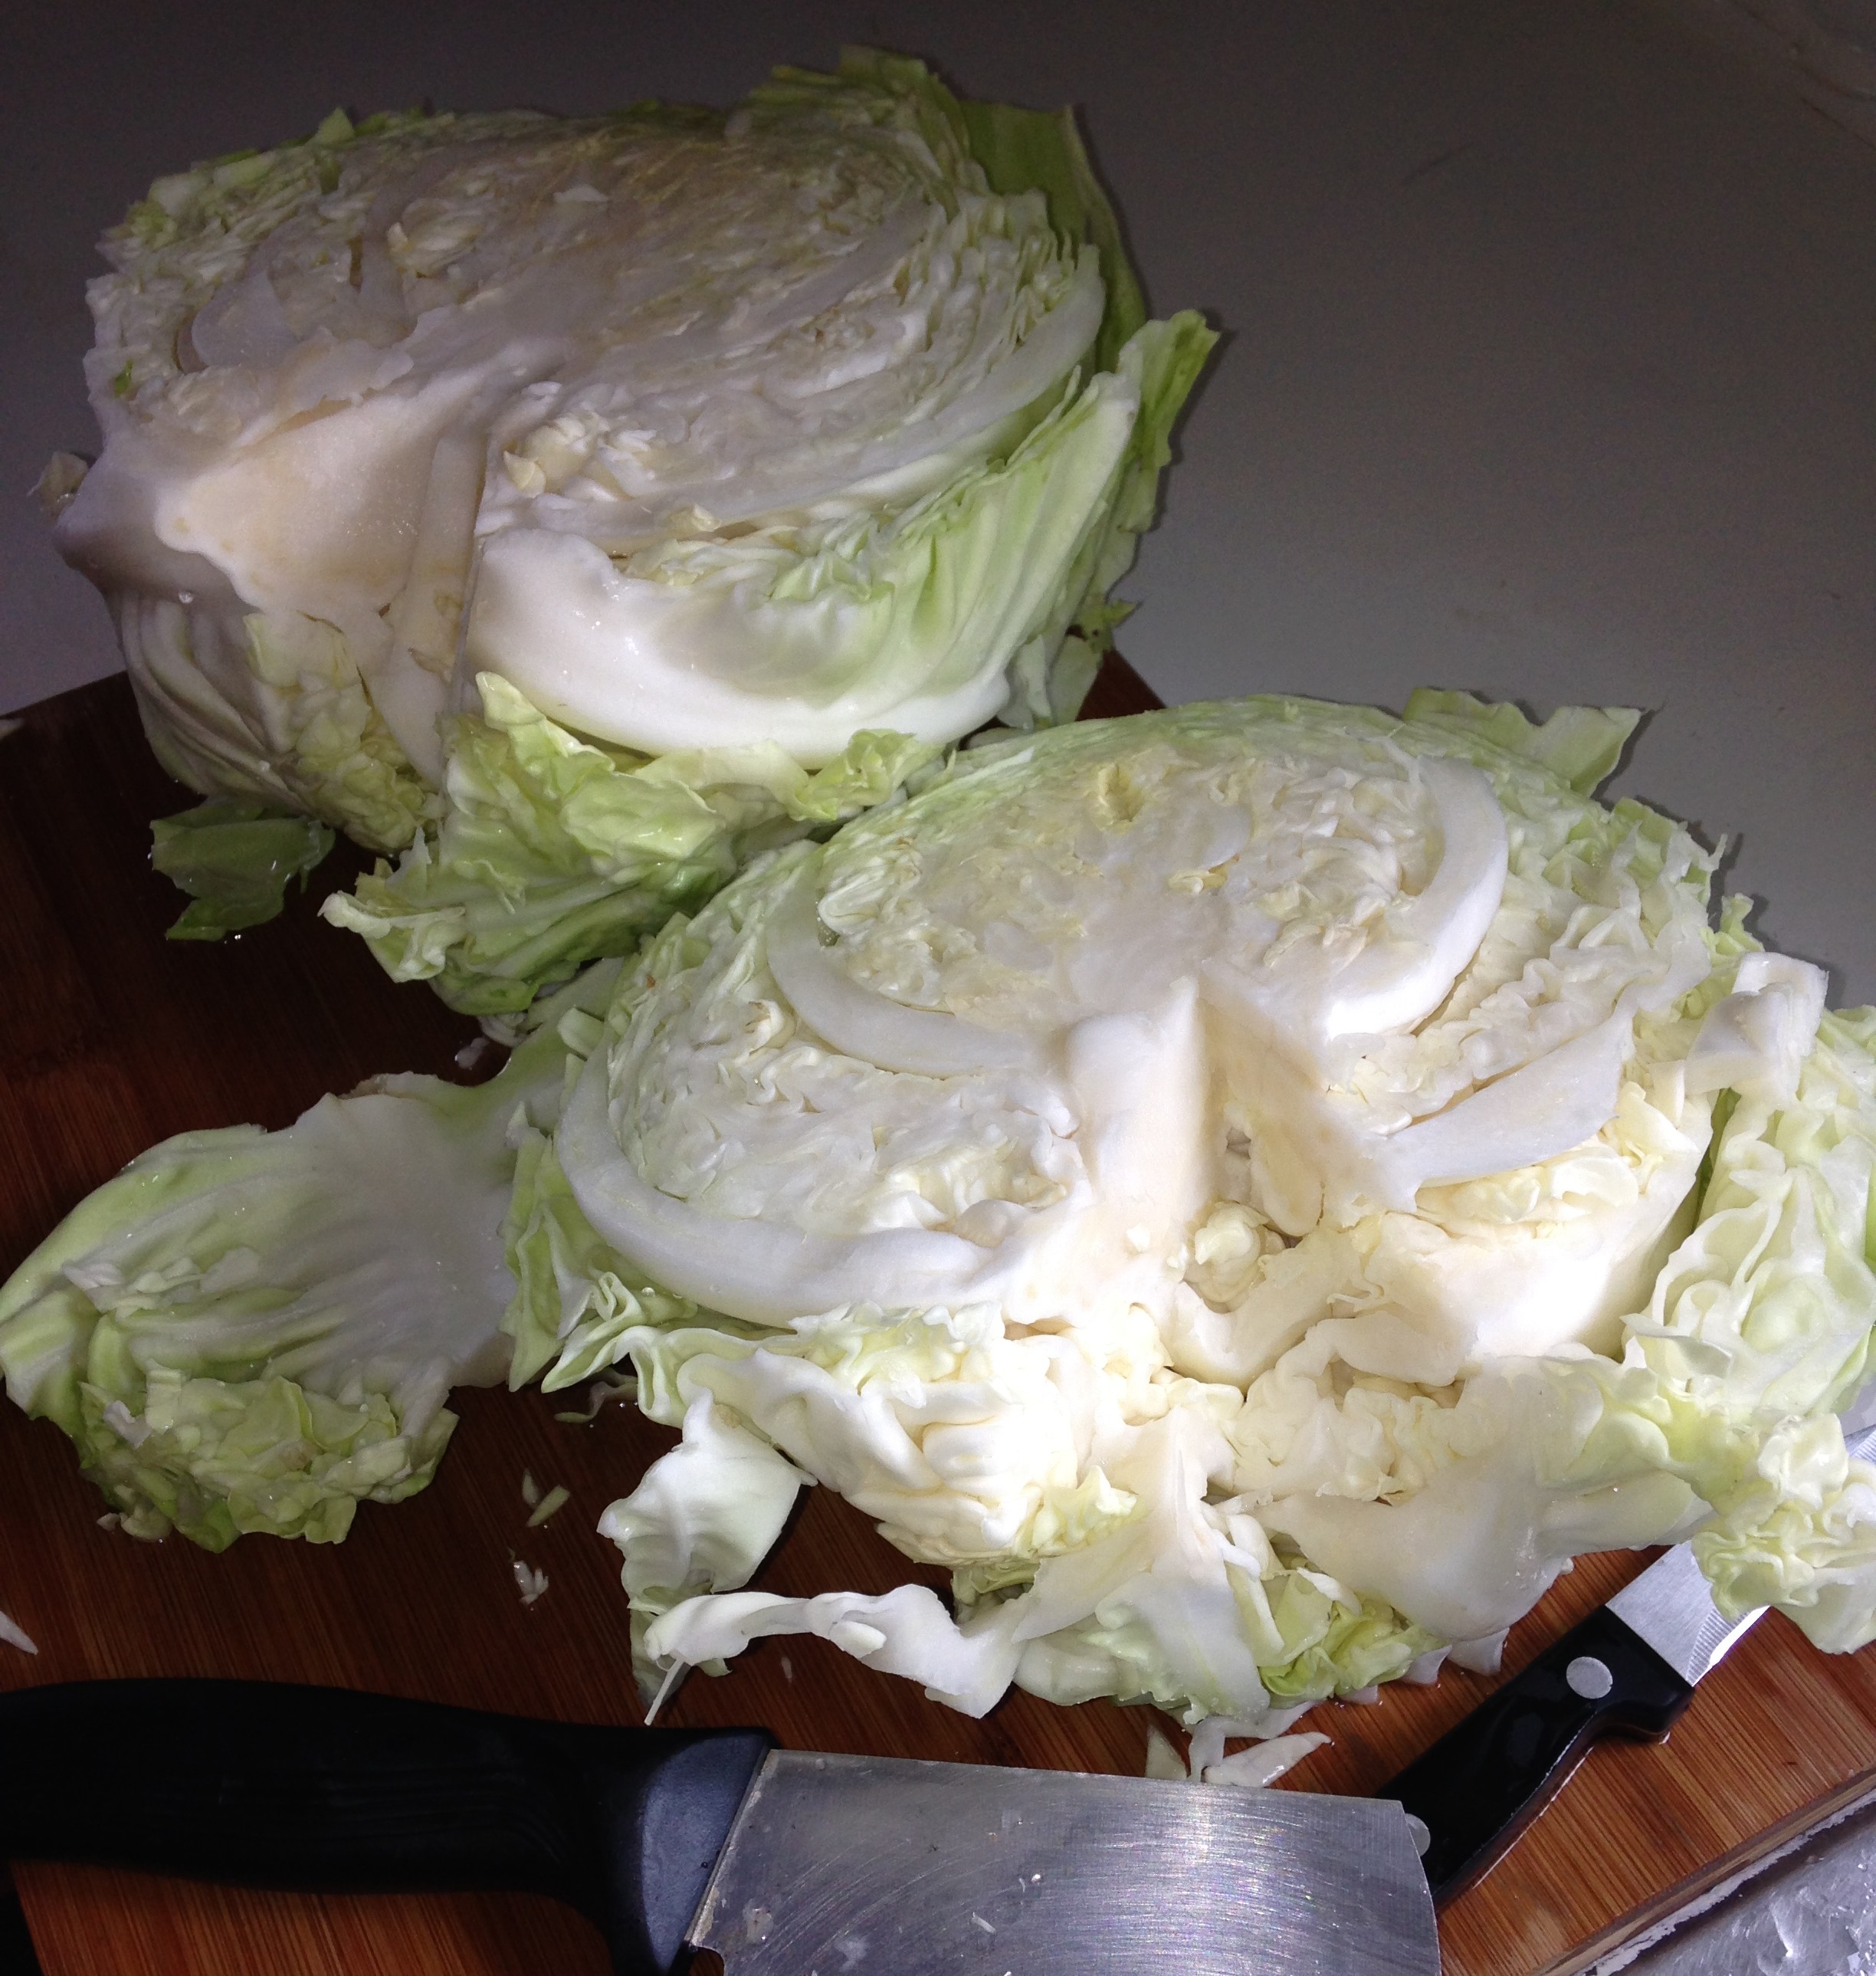
– Shred your cabbage fairly finely, a food processor works well if you would like to speed up the chopping (reserve a couple of nice outer leaves to use as a cap)
– In a non-reactive large bowl combine the shredded cabbage and salt. Massage the salt into the cabbage until it has the texture of marinated coleslaw (sort of transparent and slippery). You will notice the cabbage has released a lot of liquid and this has formed a brine. This is just right.
– Pack the cabbage tightly into your mason jar. Tamping it down very tightly as you fill the jar. Add any remaining brine to the jar and place a folded outer leaf over the surface. The large leaf helps to keep the cabbage shreds down under the brine where you really need them to stay.
– Fill the smaller jelly jar with water and cap it . Place the jelly jar (or the aforementioned clean stone) on top of the cabbage and gently press it into place (try not to lose any of your brine) At this point in the process a fresh cabbage will usually have produced enough liquid to fully submerge the pickle in brine. If this is not the case you will need to add extra brine after 24 hours. Dissolve one teaspoon of course salt in one cup of boiled water (cooled to tepid) and add this solution to the pickle until the level of the brine ensures that the cabbage is fully submerged.
– Cover the pickle loosely with a clean cloth and check it a few times a day. You may need to gently press the jelly jar down to keep the cabbage from floating up. Keeping your pickle under the brine is the real key to success with this process. Ensuring that your cabbage is fully submerged keeps it away from air and unwanted organisms.
– You will start to notice bubbles forming usually within a day or two. Yeah! It’s working. Keep checking your pickle every day and by day three you can begin tasting your creation. The longer you let your ferment work the more tangy your pickle will become and this is one of the things that is really neat about home fermented pickles – It is ready when it tastes good to you. Want it mild? Cap it after three days and pop it in the fridge. Like a hearty super-tangy Kraut? Leave it to ferment for a few weeks!
A normal healthy ferment will develop foam and often some white material that floats on top. This scum can be skimmed off daily during fermentation or can be removed before capping the pickle for storage. However, if you do notice any surface mould carefully skim it off immediately and make doubly sure that all of your shredded cabbage is completely submerged – the rest of the submerged sauerkraut will be fine (I have never had any mould develop but they say it can happen).
One of the very nice things about making fermented pickles is that it is such a safe and simple way to preserve fresh produce. This kind of fermented pickle will keep for quite a long time in a very cool place (below 50ºF) or in the refrigerator (we have found that it keeps very well all Winter – staying green and crunchy for at least nine months if you have not eaten it all by then, that is).
This Spring in our market garden will have this same variety of (giant) Danish Ball-head cabbages. We also circled some of the unique pointed cabbage varieties that look so lovely in the garden – like beds of wildly alien red and green flowers.
Can hardly wait!