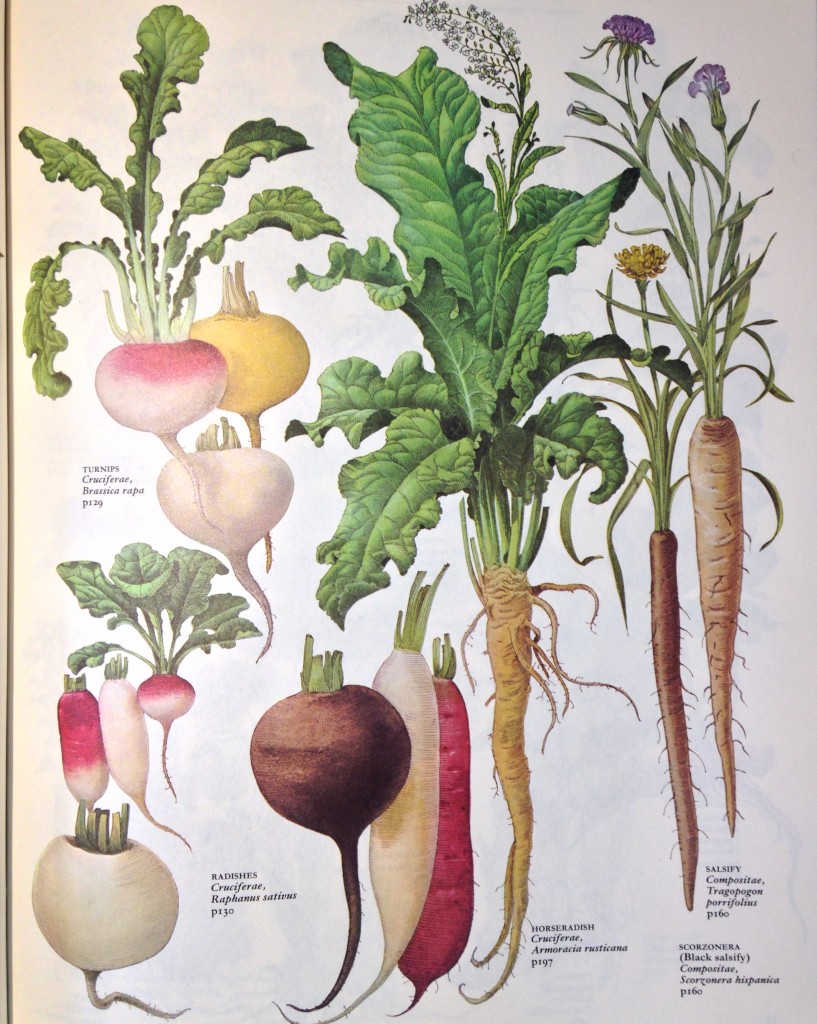
Here there be monsters. The Radish of the Horse. Horseradish.
Garden books, gardening advice columns (do they still have those?) and experienced gardeners offer dubious warnings about Horseradish. One of those warnings came from wondrous and very wise Gardener that I was lucky enough to spend time with. She informed me that “Horseradish grows to the Devil and back” and that I better never place it in my gardens where I was not really really sure that I would “Forever and a day” want it to be. Forever as in “Forever-Ever”.
So be it. We love Horseradish!
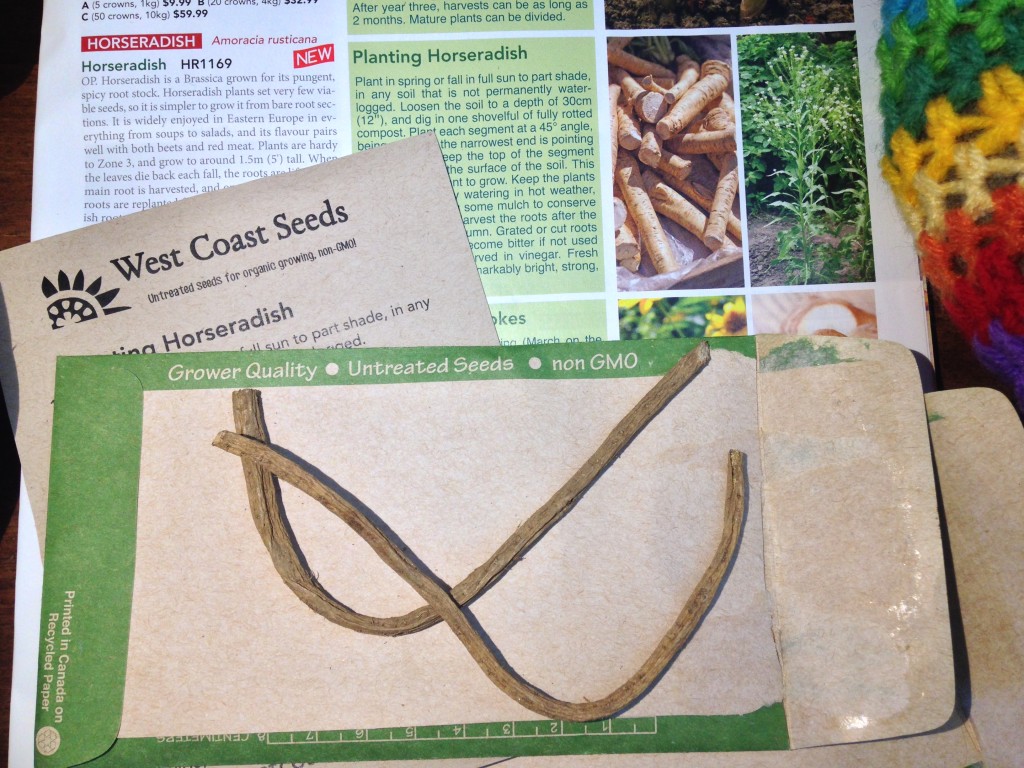
To start our little Horseradish nursery we did manage to secure tiny root cuttings from the West Coast Seeds catalogue. It is hard to imagine these harmless looking twigs becoming massive plants with the roots that will drive people out of a house if you are dauntless enough to grate them indoors.
The usual way to plant a Horseradish patch is by using root cuttings. If your soil is workable then the cuttings can go straight out into the garden. Our soil is not so much ready. Nope. More like a field of icy stone than a garden. But hope springs eternal and so we shall plant these gnarled little twigs indoors in the cheery “Red Solo Cups” that we favour for seedlings that have outgrown their cell-packs.
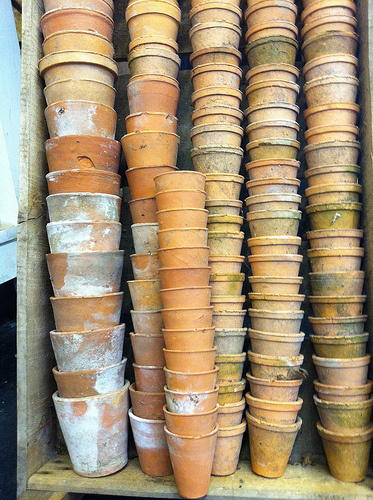
Wouldn’t you love to have a wonderful English-style Potting Shed with the racks of clay pots all neatly stacked by their size numbers? Love the lovely clay pots!
Unfortunately we don’t have: the Potting Shed, the collection of vintage clay pots, or the Victorian-Gardener’s Apprentice that would be needed to take care of said vintage clay pots so we substitute the Red Solo Cups.
These “plastic-fantastic” cups make a pretty surprisingly good second choice. With added drainage holes they are quite sturdy and they do hold up to many years worth of seedlings (not quite so pretty though… nope).
About those Horseradish root cuttings, if you decide to start some place them with the straight cut (there is usually a straight cut and an angled cut to differentiate top vs. bottom) upwards in damp potting soil and pop the pots into a plastic bag. Place these in an area that will not freeze and when they develop leaves move them into a sunny window or onto a grow-light shelf (or into a cold frame if it is warm enough).
When the cold Spring weather finally gives up the ghost transplant your Horseradish plants out into the garden. Somewhere you would really like it to stay. Yup.
5


0 Responses
Gina cloud
Always imagined myself making all those lovely pots! Love horseradish too! And if it goes down forever isn’t that grand for breaking up our clay!