
Not really a big fan of winter. Never have been a winter activities type of person. I think it helps if you have the kind of physical coordination that lets you not trip over cracks in the sidewalk or over your own shadow. I sadly do not. In Canada, however, cold winters are our lot in life. So looking for the bright side seems like a proper plan. Aren’t these snow drifts pretty?

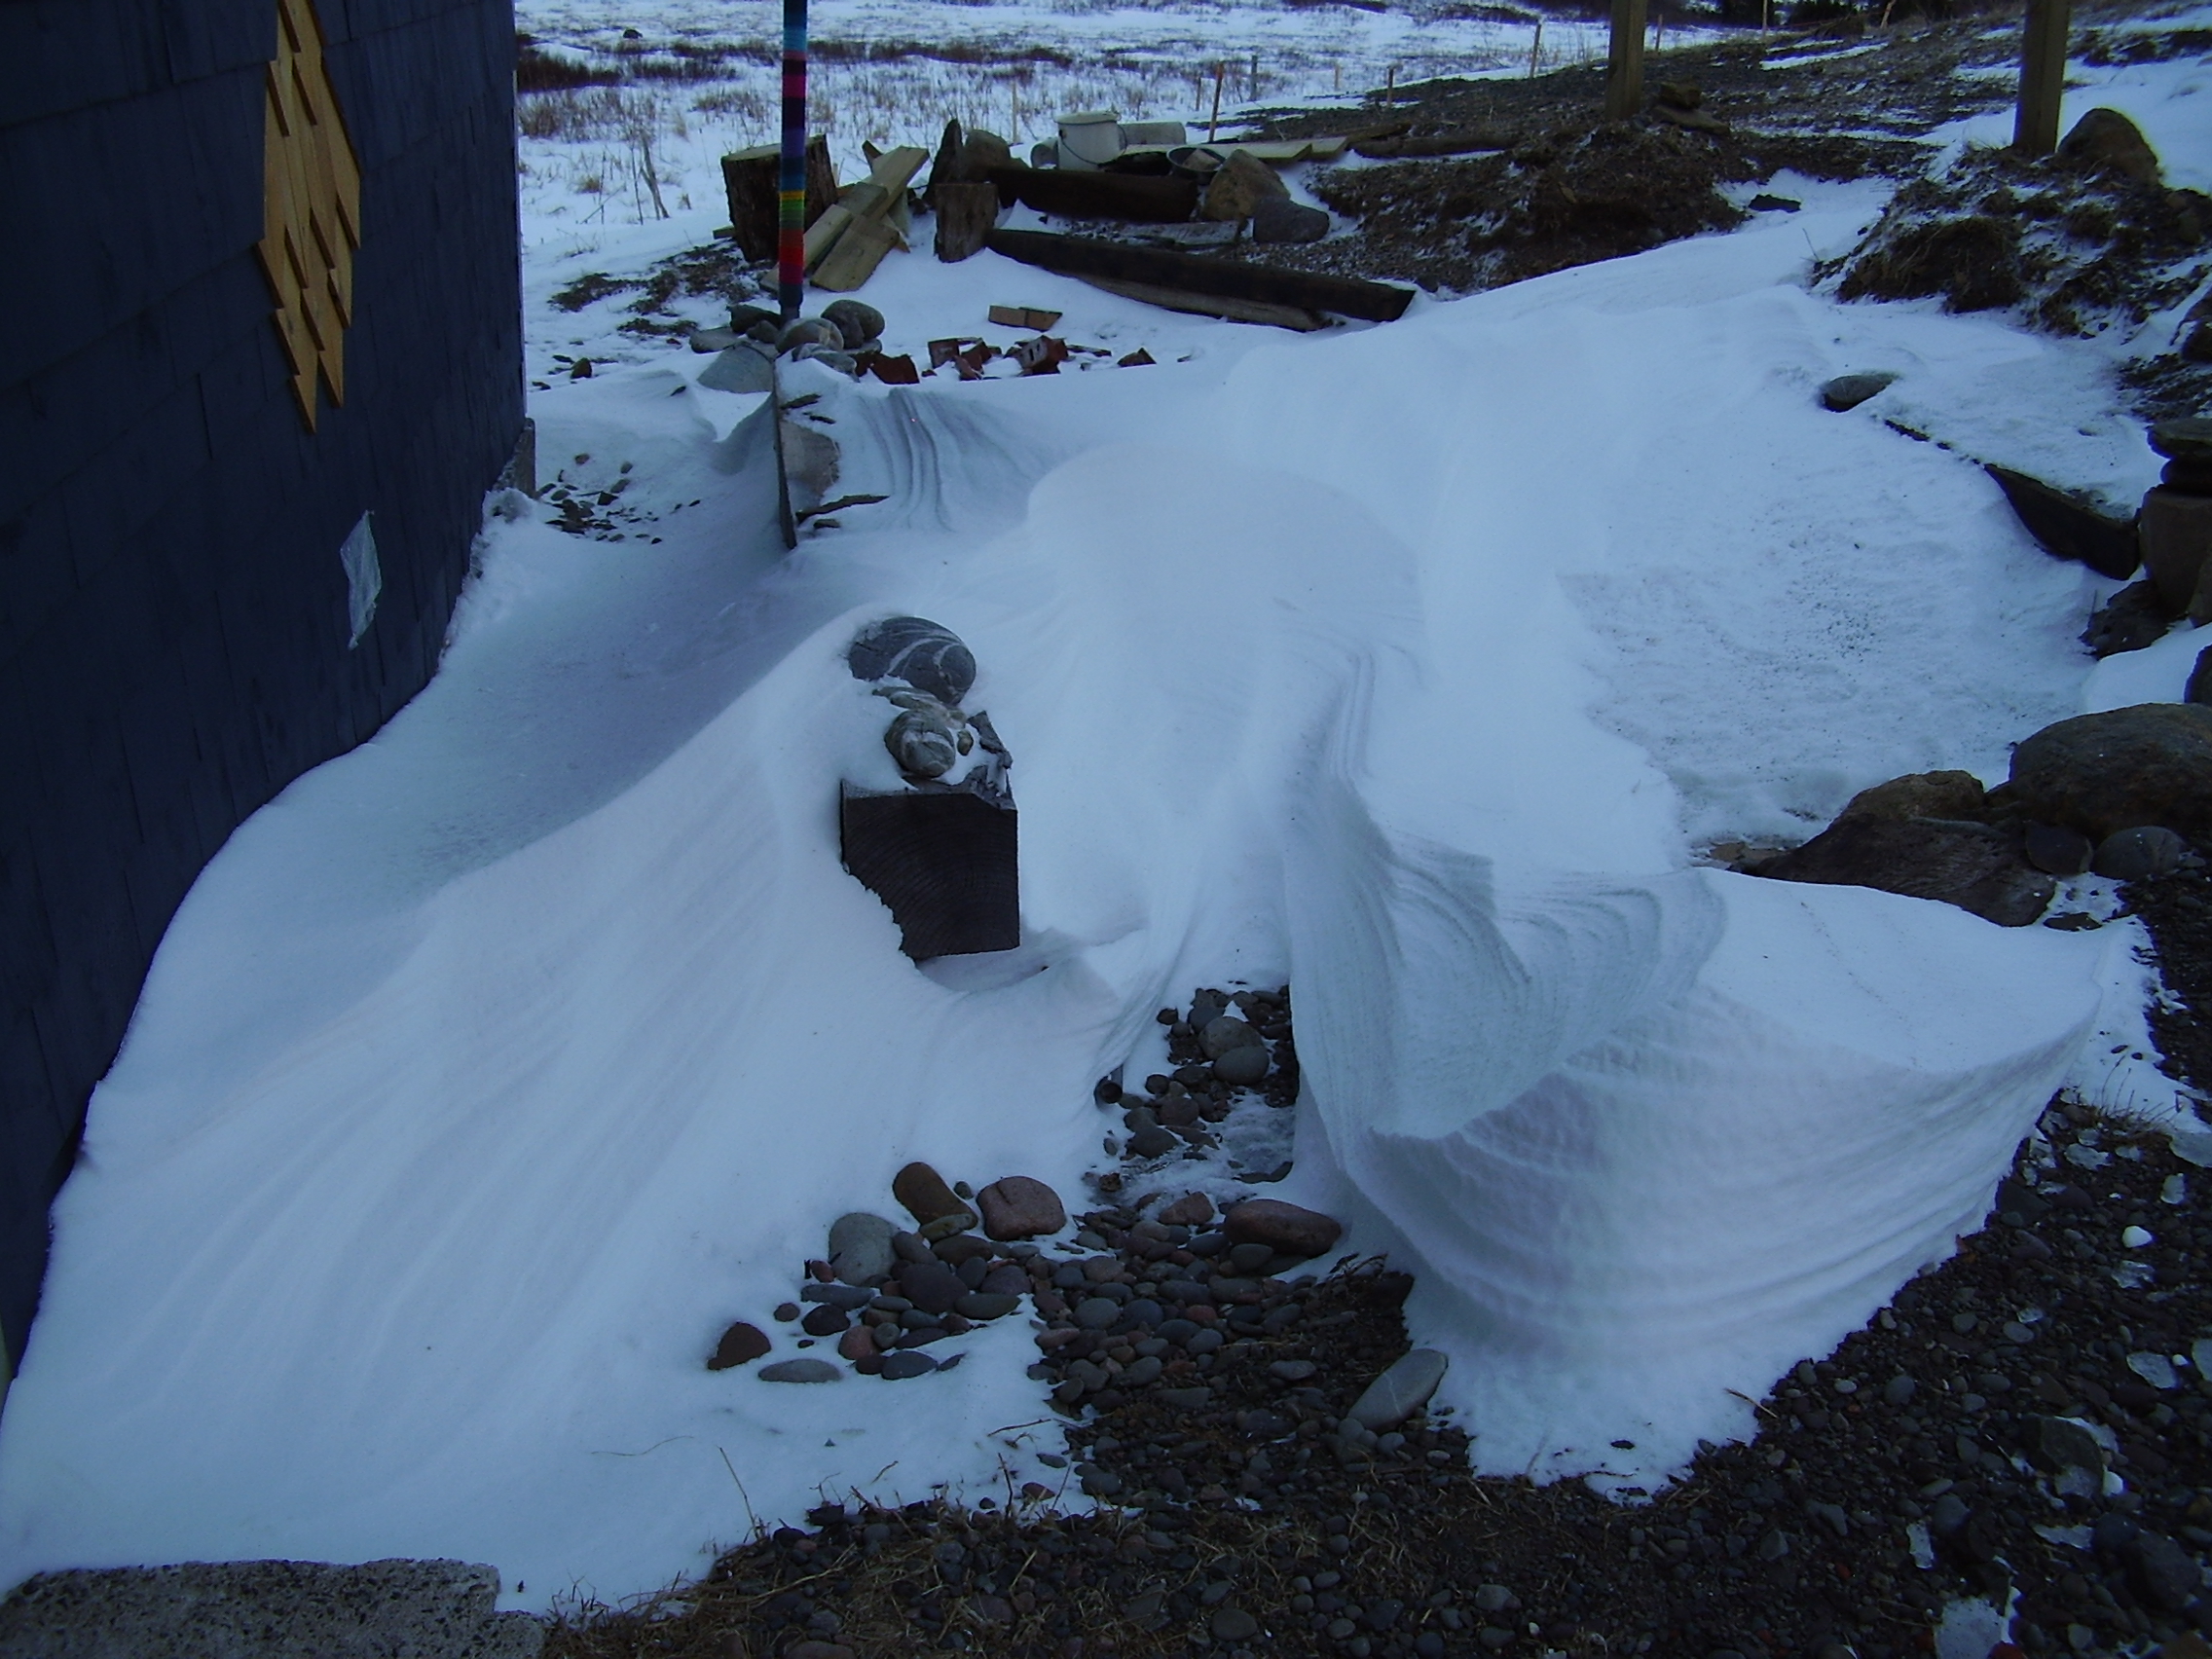
The picture below is the garden staked out during our first fall. Before the hillside froze solid, I managed to pound in the posts that marked out our first raised beds. After this hopeful start came the rest of a very stormy winter, and most of a particularly nasty and cold spring. It is during this period of time that I could constantly be found looking out the windows and mooning miserably at the bleak granite-hard hillside.

As soon as the ground appeared to be clear of snow, the little shiny garden spade went to work. Every other garden that I have started has had some elements that were inherited – ponds, abandoned perennials, old walkways and the like. It is sort of nice to start out with a barren hillside. There are no garden beds, no trees, no landscaping to work around (well, there is a little teensy purple Lilac, actually).
No landscaping to work around but there is one massive and powerful force that must be dealt with. We have rooted this unlikely Market Garden on a small island on the ragged edge of the Atlantic Ocean and it is just a wee bit in the windy side. As in, the sort of wind that sends huge completely sodden bales of hay down the lane like tissue paper. It is definitely a challenging site. Near continuous strong winds and a North-East facing very sloped acreage… yup a most challenging site indeed.
So a windbreak is desperately needed. Many, many hundreds of feet of windbreak actually. Being “bears of very little money” Willow is the magical solution as they are fast growing and are very easy to root. Willow cuttings were plonked into buckets of water and set in the side porch. There is no reason that I know of to pre-root your willow cuttings. Most varieties of willow take hold very easily from cuttings that are simply pushed into the soil . We were just a bit desperate to see something Green happening. So in came the cuttings and soon adorable fuzzy catkins appeared like magic leaving behind small piles of dusty yellow pollen. Indoor Spring.
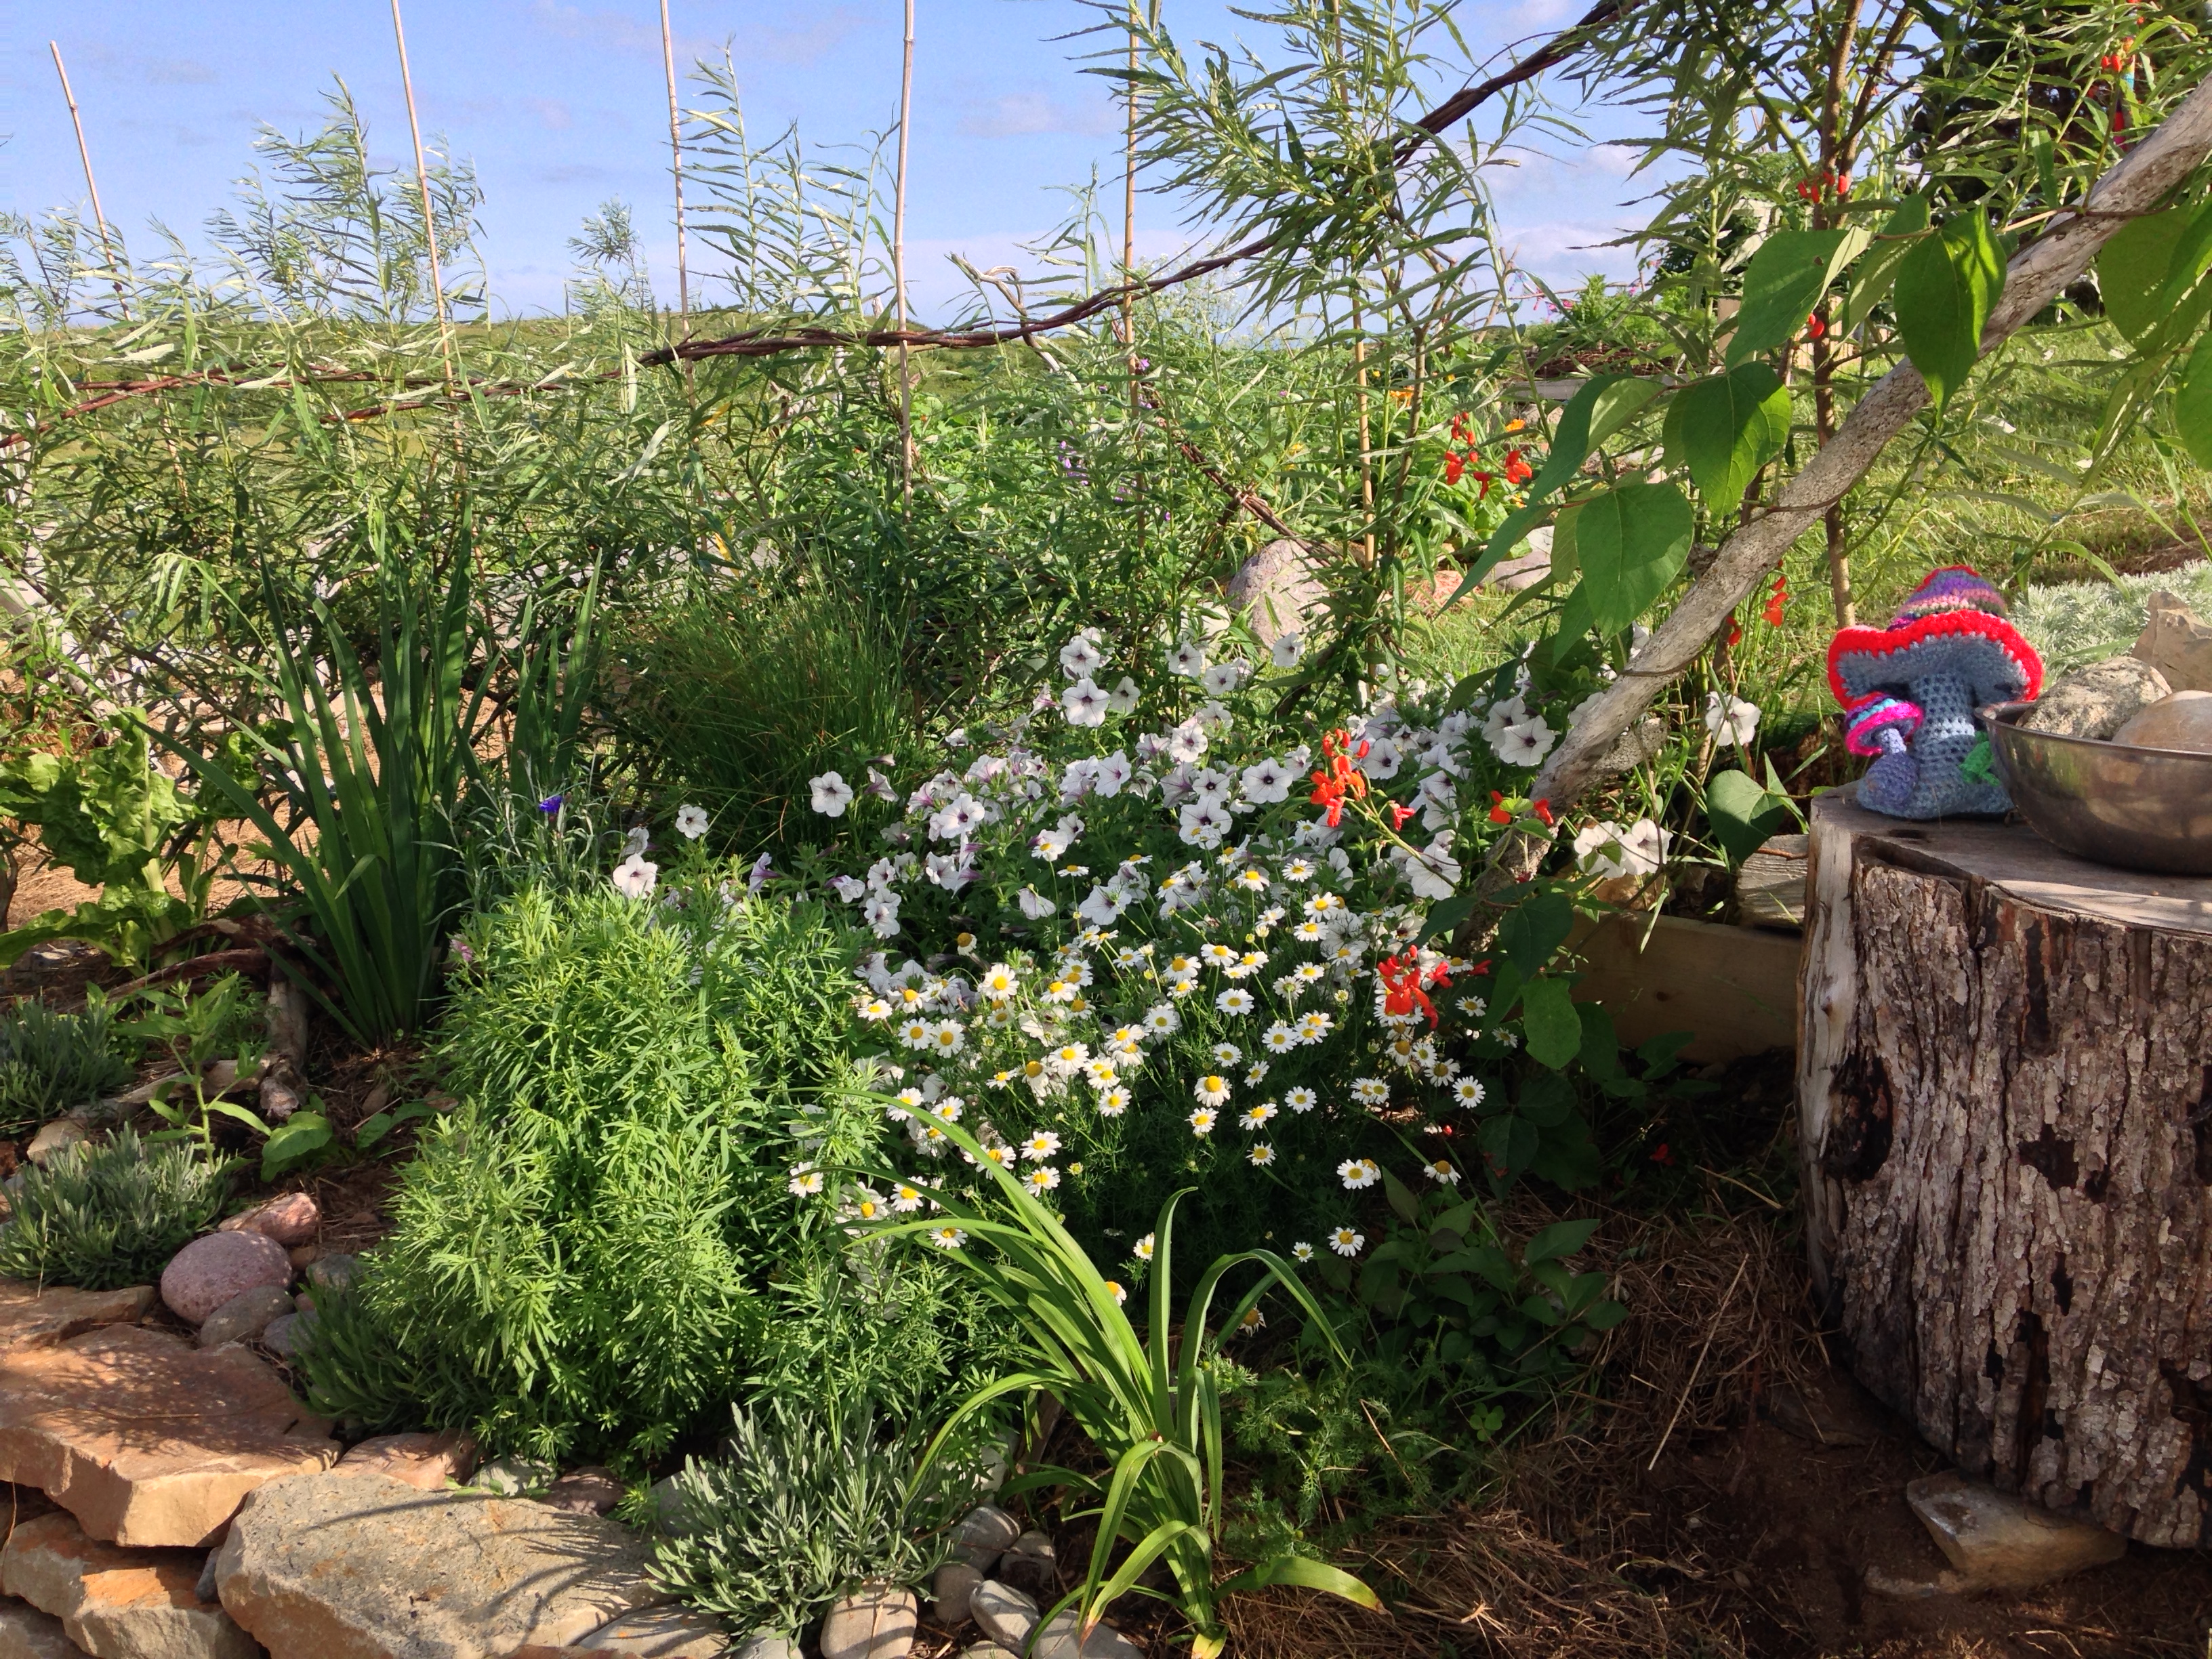
Living willow can be planted as fences, hedges, tunnels, trellises or sculptures. Here at Pebble and Fern we have started with the simple windbreaks, dome-type dens, bowers and a few diamond patterned Belgian fences. Then we ran out of branches. It turns out the you cannot have too many willow withies when you are making garden sculptures. Thank goodness that there will be more withies to harvest this Spring!

If you are interested in making your own living willow structures or “fedges” the process is quite simple. Gather a supply of willow whips or stakes and just as the ground becomes workable in early Spring plant the bottom end of your willow cuttings into simple dibbed holes about six inches deep (rebar makes a good hole-dibber). These bare and unimpressive little sticks WILL root. Tamp your plantings in firmly and ensure that there is some sort of mulch (cardboard, old hay, grass clippings) to smother weed competition. Keep you willows well watered for the first year and they will not fail. Honest it really is that easy. Willows don’t mind close spacing and they will grow together into fused branches wherever they touch so your planting options are vast.
These trees are very flexible and this makes them particularly easy to train into fantastic shapes. Instant tall fences or large domes will require really long whips but if you don’t have great lengths you can start with little foot long stakes and still have a six foot creation in only two growing seasons. Nice.
Willow will grow into any shape you desire and stay that way with a little tying and staking. Maintaining your finished sculpture really only requires flexible ties (such as panty-hose strips) and occasional pruning. Rub off any lower buds early in the Spring if you wish to keep your fences less “bushy”.
Give it a try!
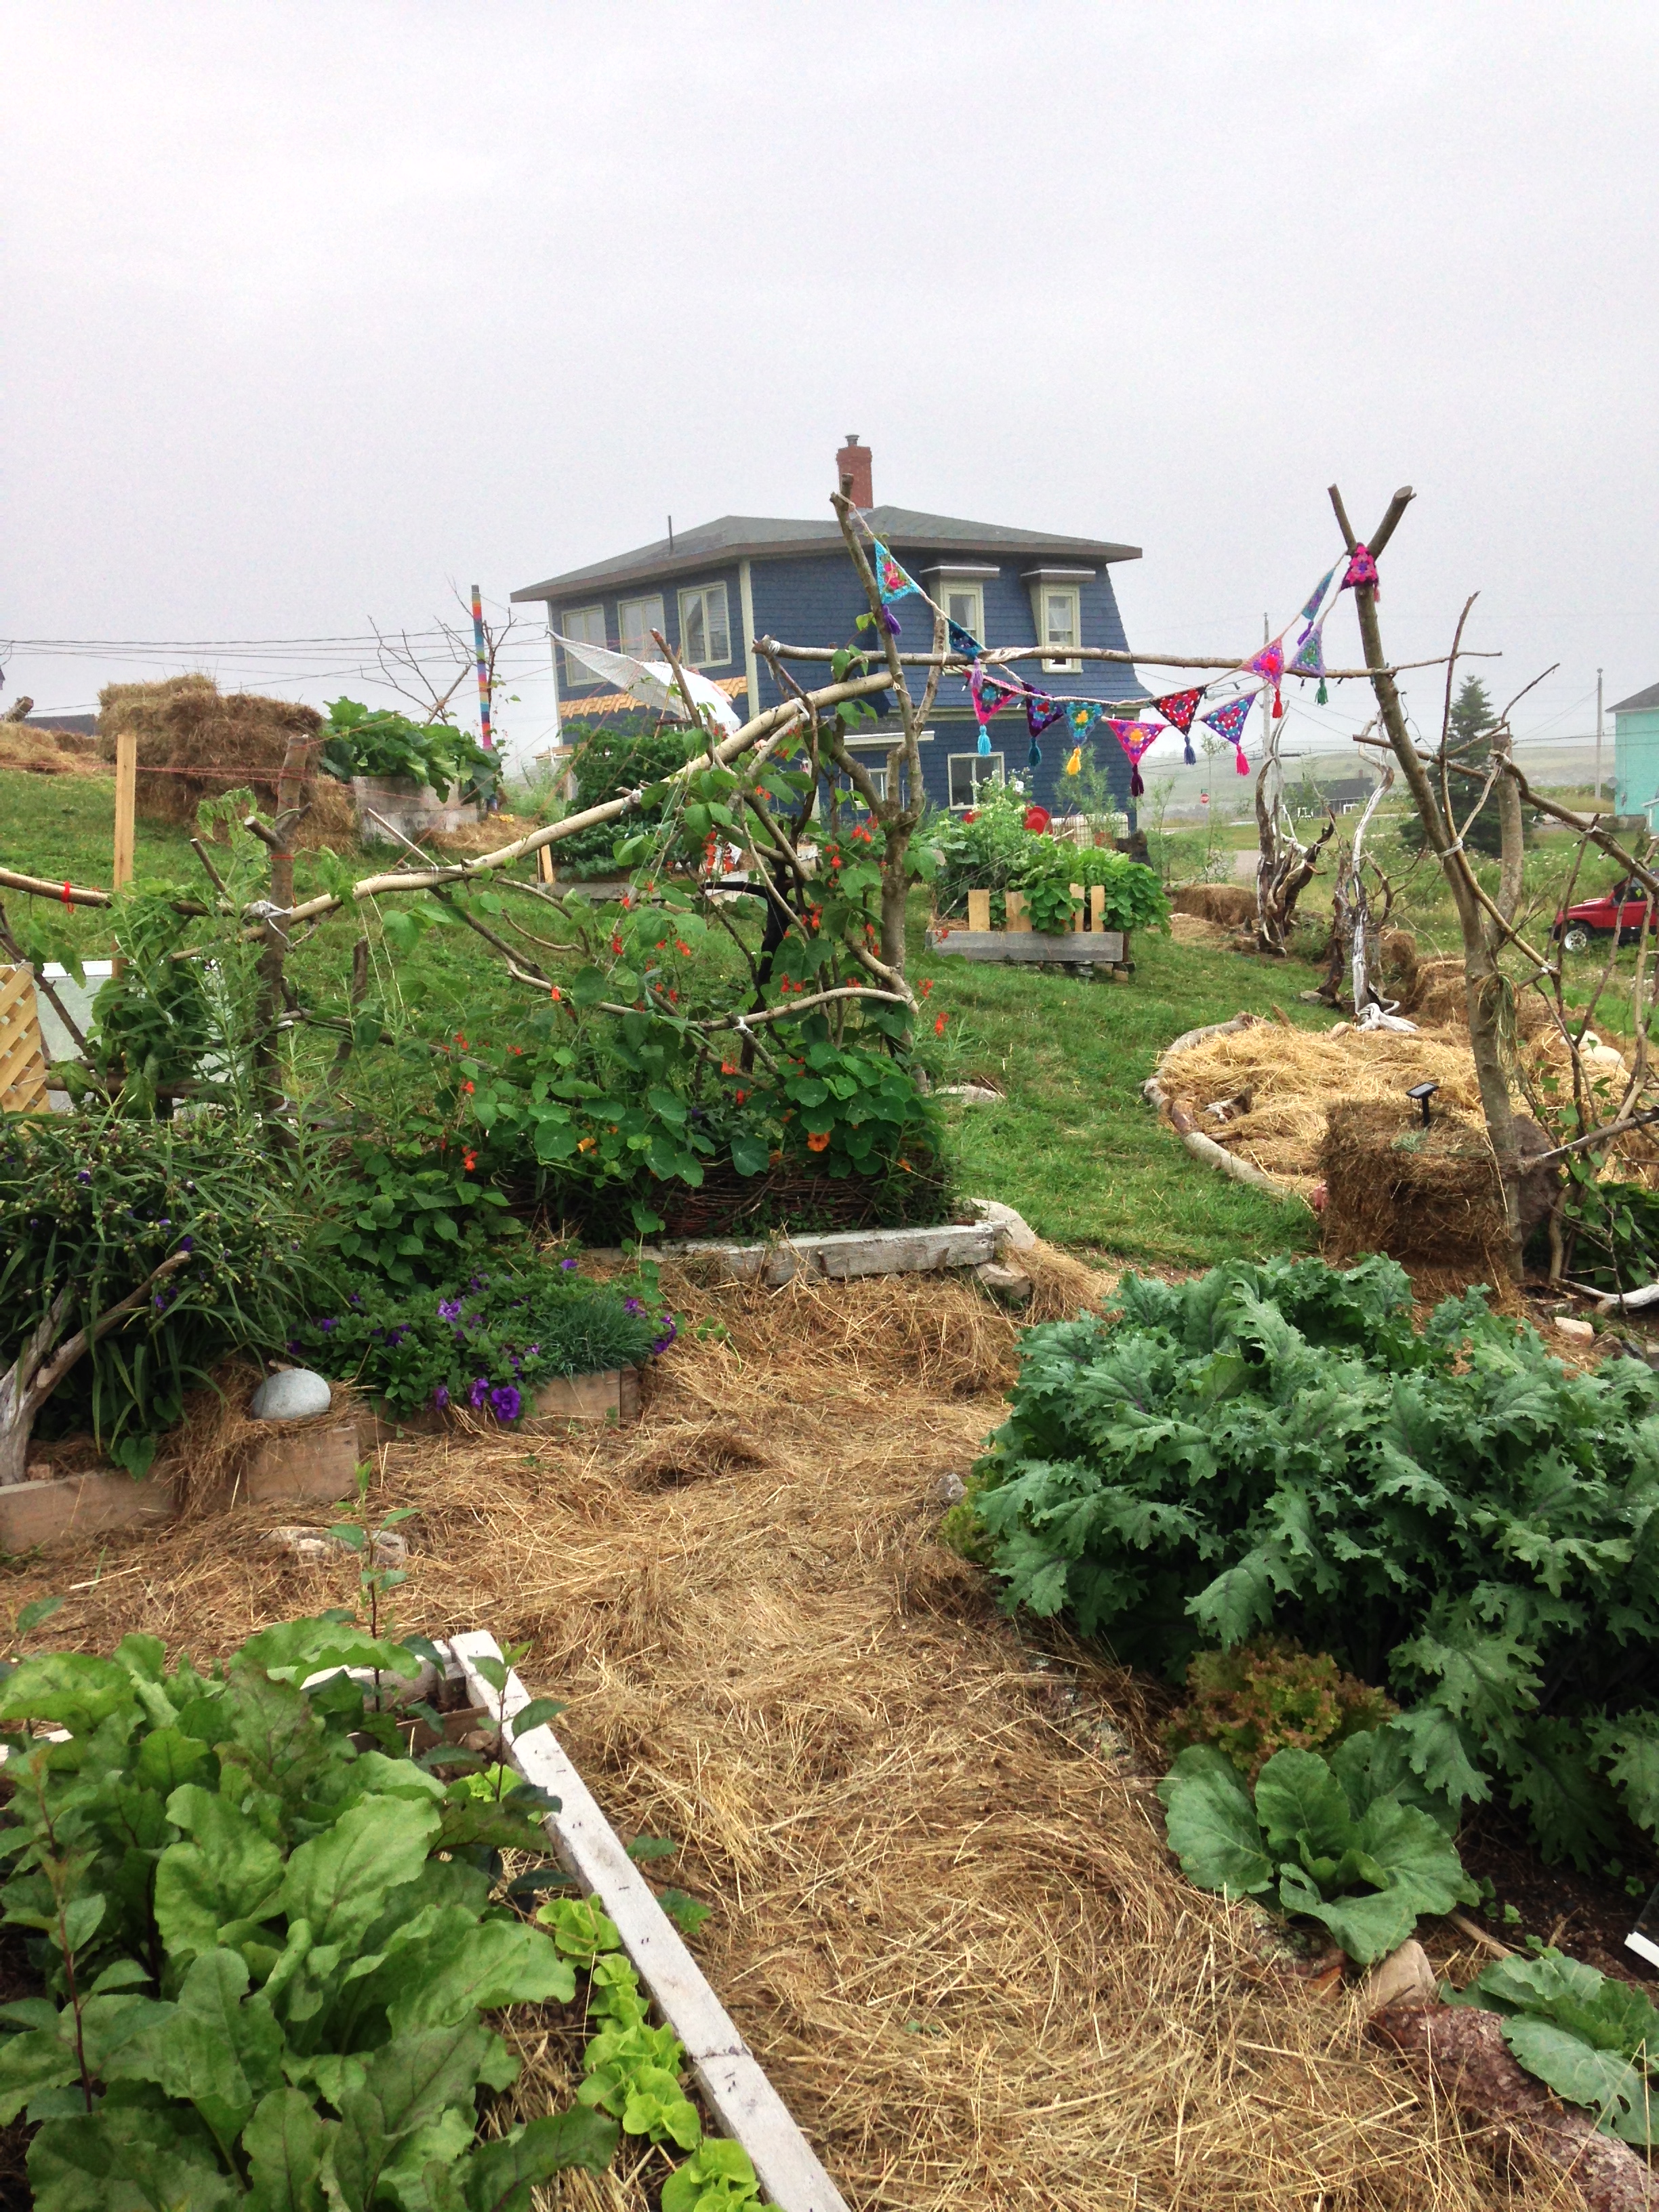 After our first summer it is beginning to look quite a lot more like a garden. So very much looking forward to making the new perennial flower borders that will grace the upper garden, on the left side of the photo below. Any time you are ready spring!